

Make Crystal Snowflakes with Borax
Taking time to make crystal snowflakes with Borax is a favorite activity around here! We have used this “recipe” to make geodes too!
If you are studying snow science, this is a perfect activity to add to your teaching plan.
Grab our free 60+ page printable snow science lesson.
I highly recommend you make crystal snowflakes from Borax when doing a snow science study with a group too. You could possibly use a larger, deeper container and place a dowel over it, hanging multiple projects at once.
A few tips we learned:
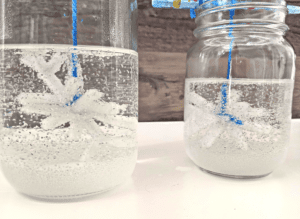
- Make sure your designs will fit through the mouth of the jar after the crystals grow. We had to gently chip away some crystals to get our bigger snow flake to go through. This would be an opportunity to test different containers. (Hint! Hint!)
- Add just a few drops of food coloring to the water if you’d like to make some light blue or light pink snowflakes!
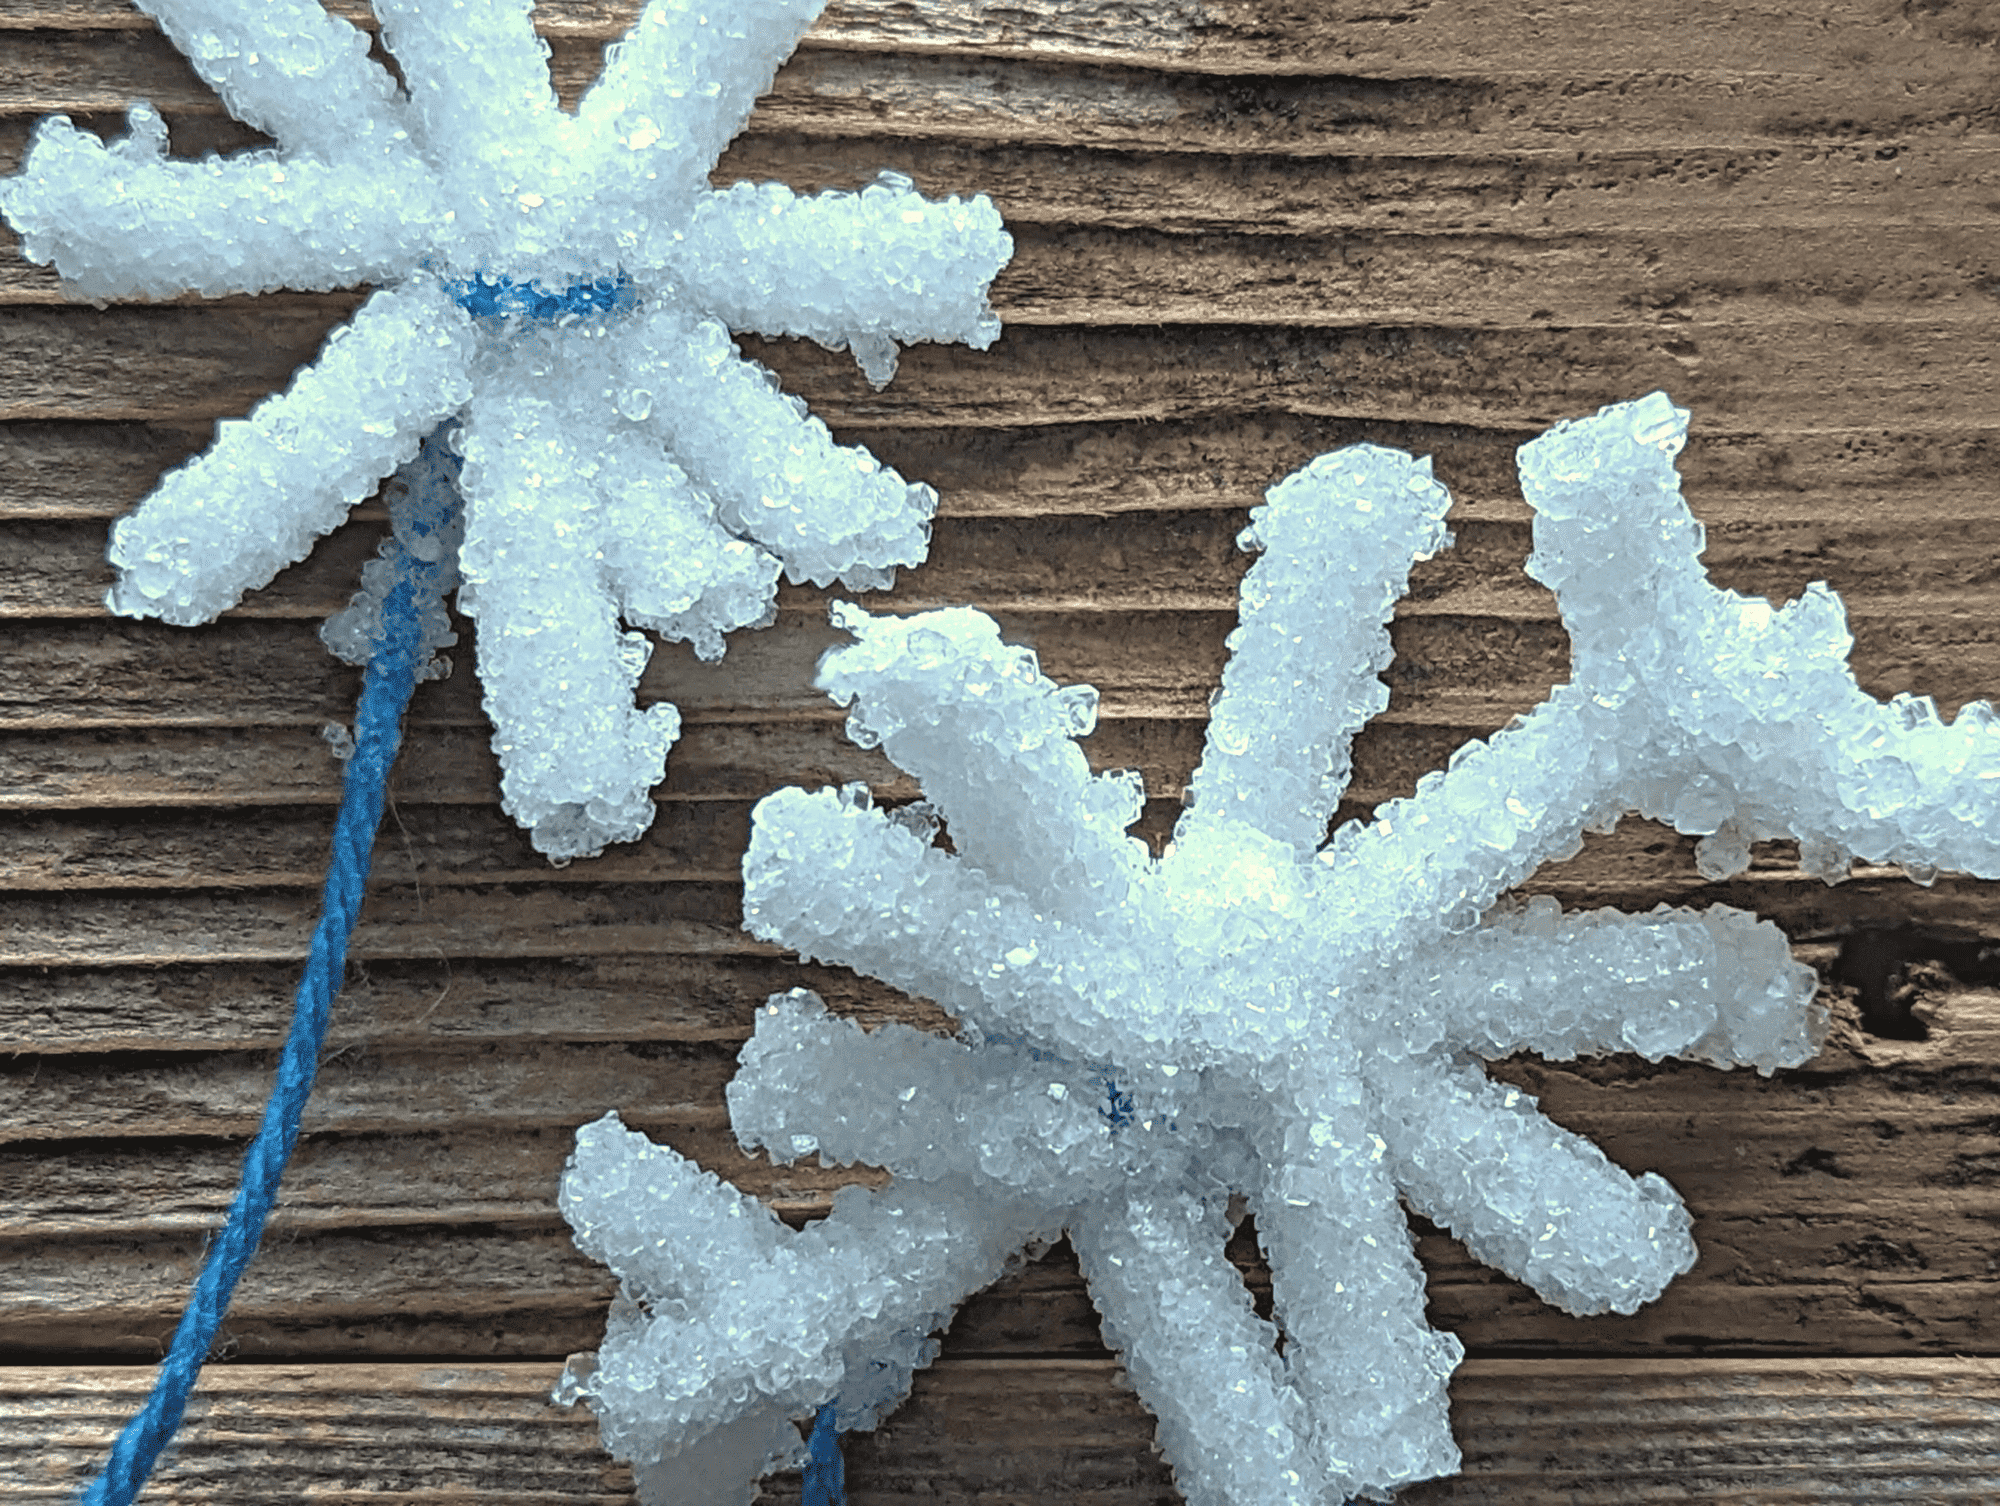
- The crystals form quickly (within 2 hours we saw some good formation taking place), so you might want your children to check on their crystal creations often and discuss how quickly the crystals are forming.
Most importantly, have fun and enjoy the time together!
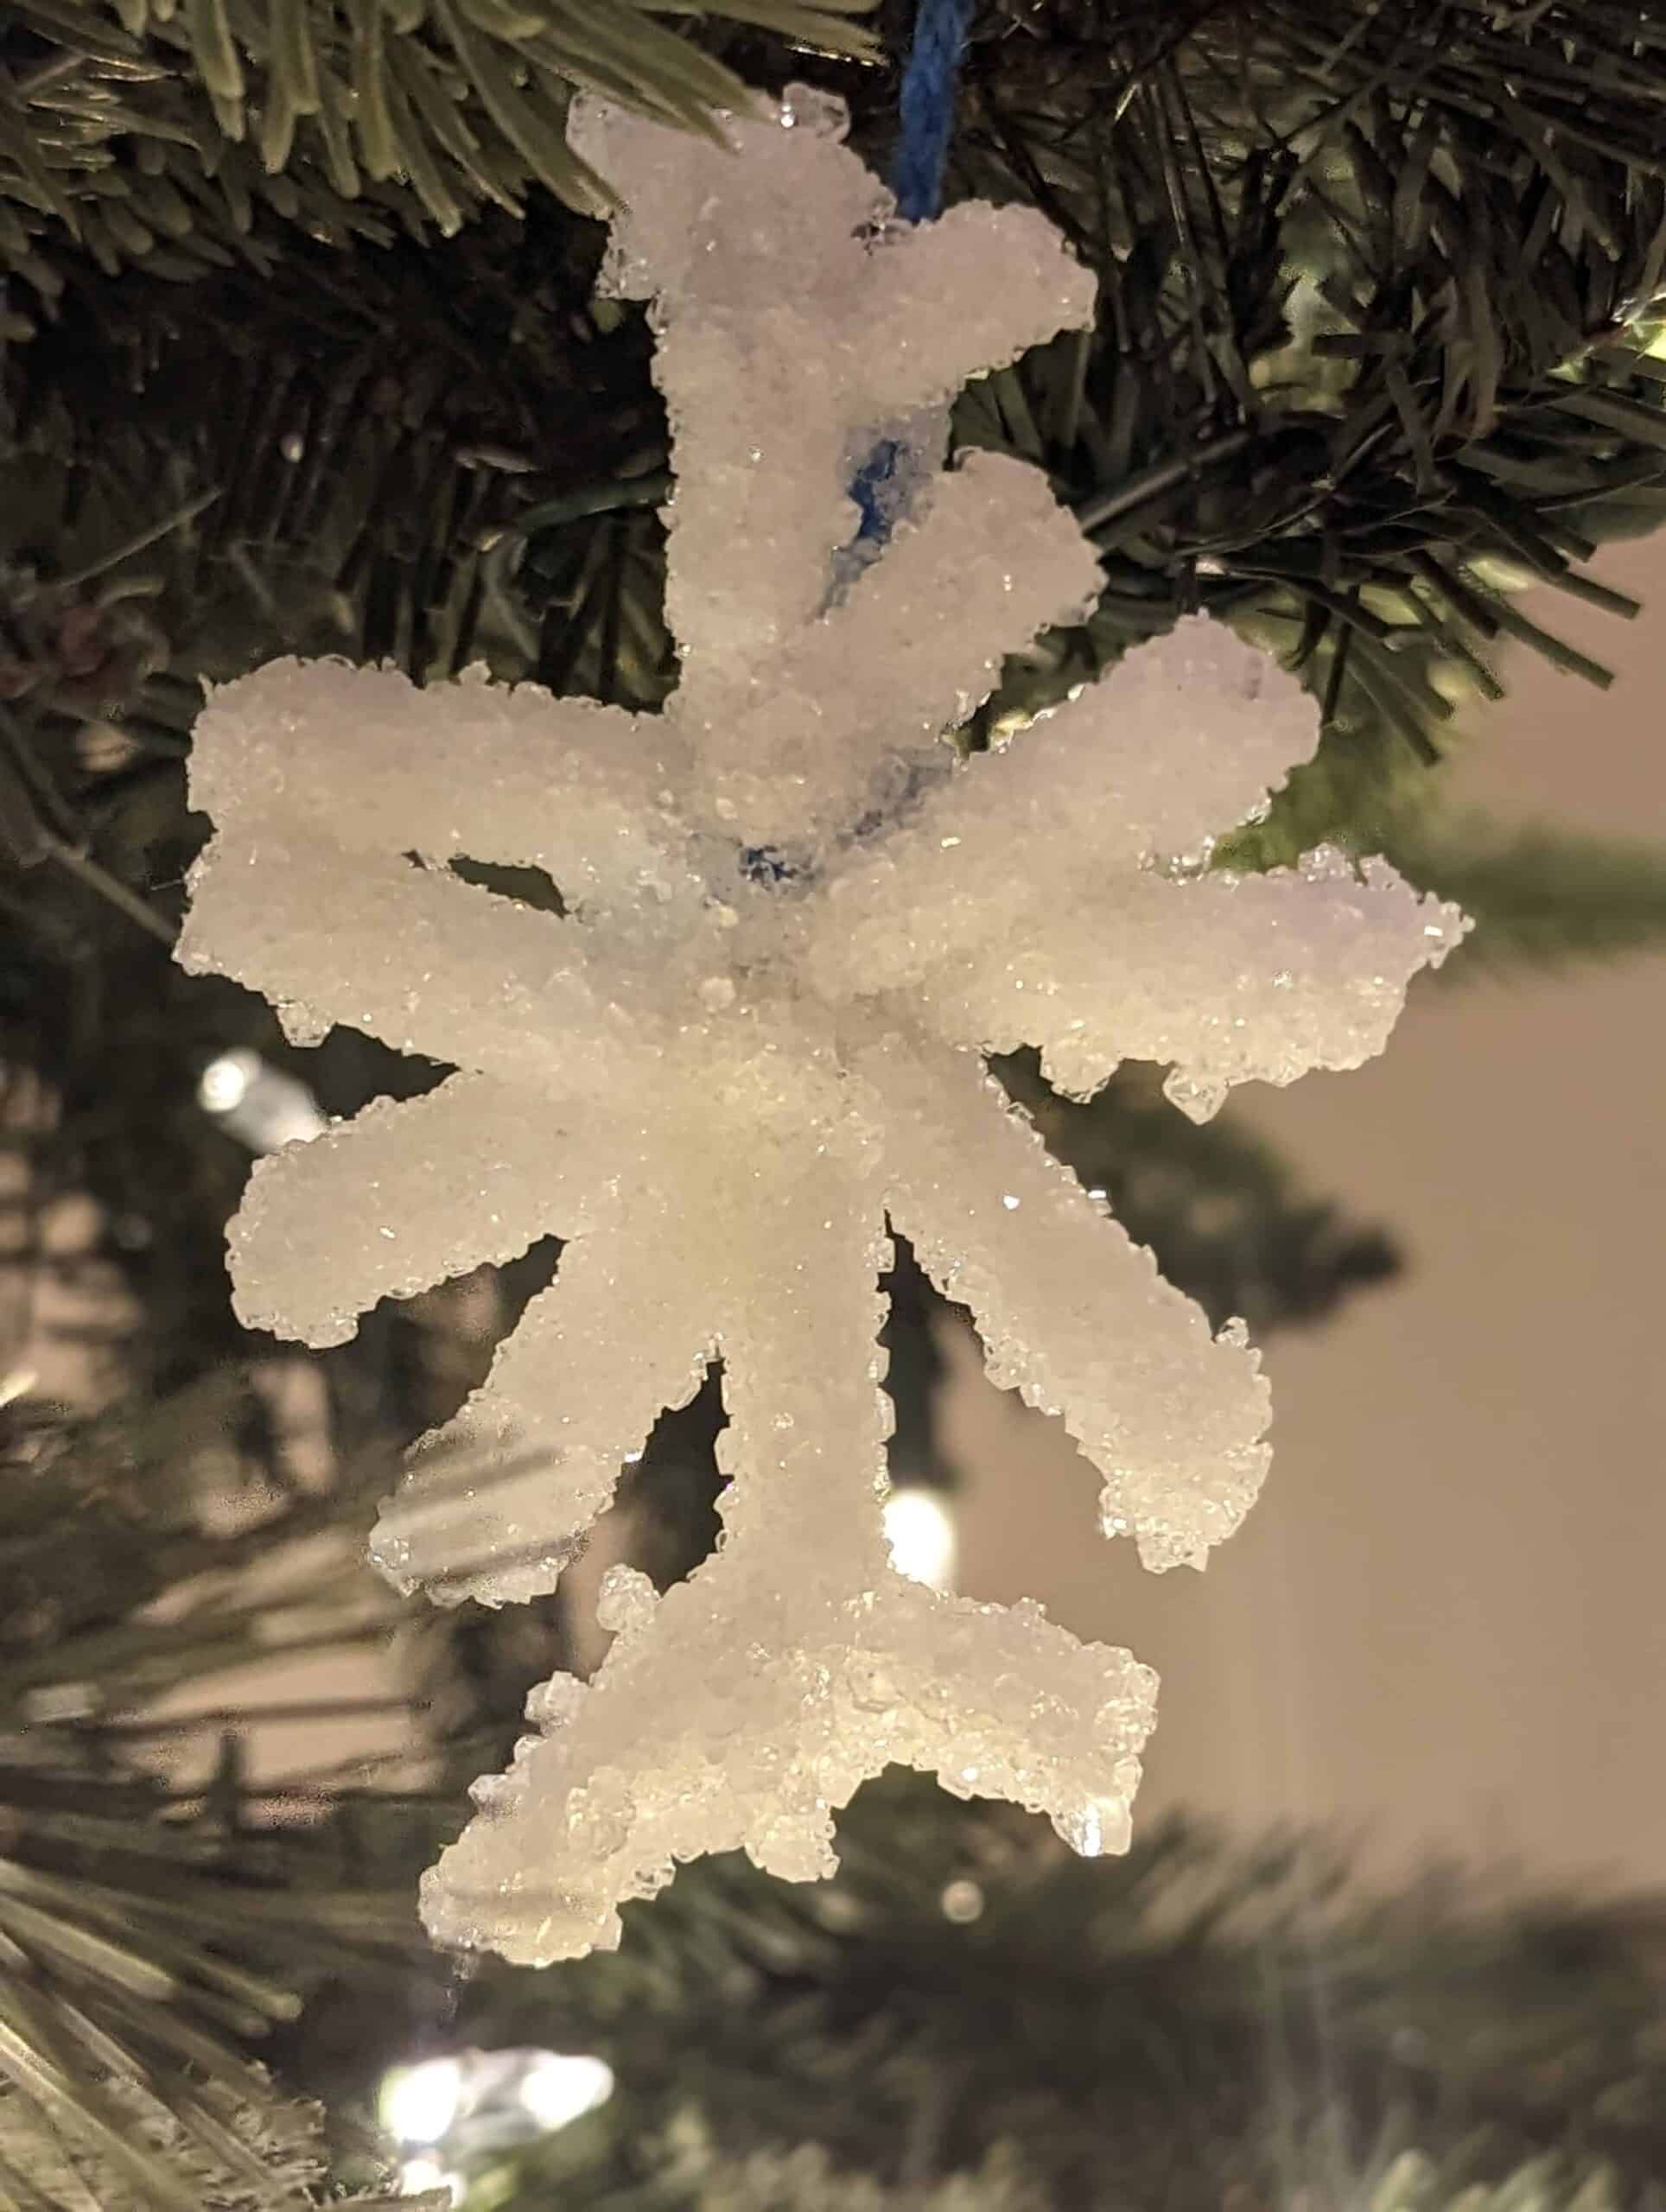
You can turn these snowflakes into Christmas tree ornaments too!
How to Make Crystal Snowflakes with Borax
Equipment
- Box of borax 3 tablespoons per 1 cup of boiling water (adults should handle the boiling water)
- Boiling water Adults should handle this
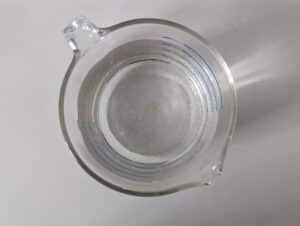
- liquid measuring cup
- measuring spoon
- pack of chenille sticks for snowflakes, white works best
- sciessors
- pencil for every snowflake
- jars or other contiainer Make sure your design will fit through the mouth of the container once crystals have formed.
Instructions
- Gather all materials and boil the water.
- Make your snowflake shapes out of the chenillesticks. You’ll want to ensure your designs will fit through the mouth of thejar once the crystals grow.
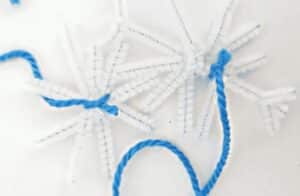
- Measure the amount of yarn to cut. You want to be able to tie it to the pencil. The chenille sticks should not touch the bottom or sides of the jar.
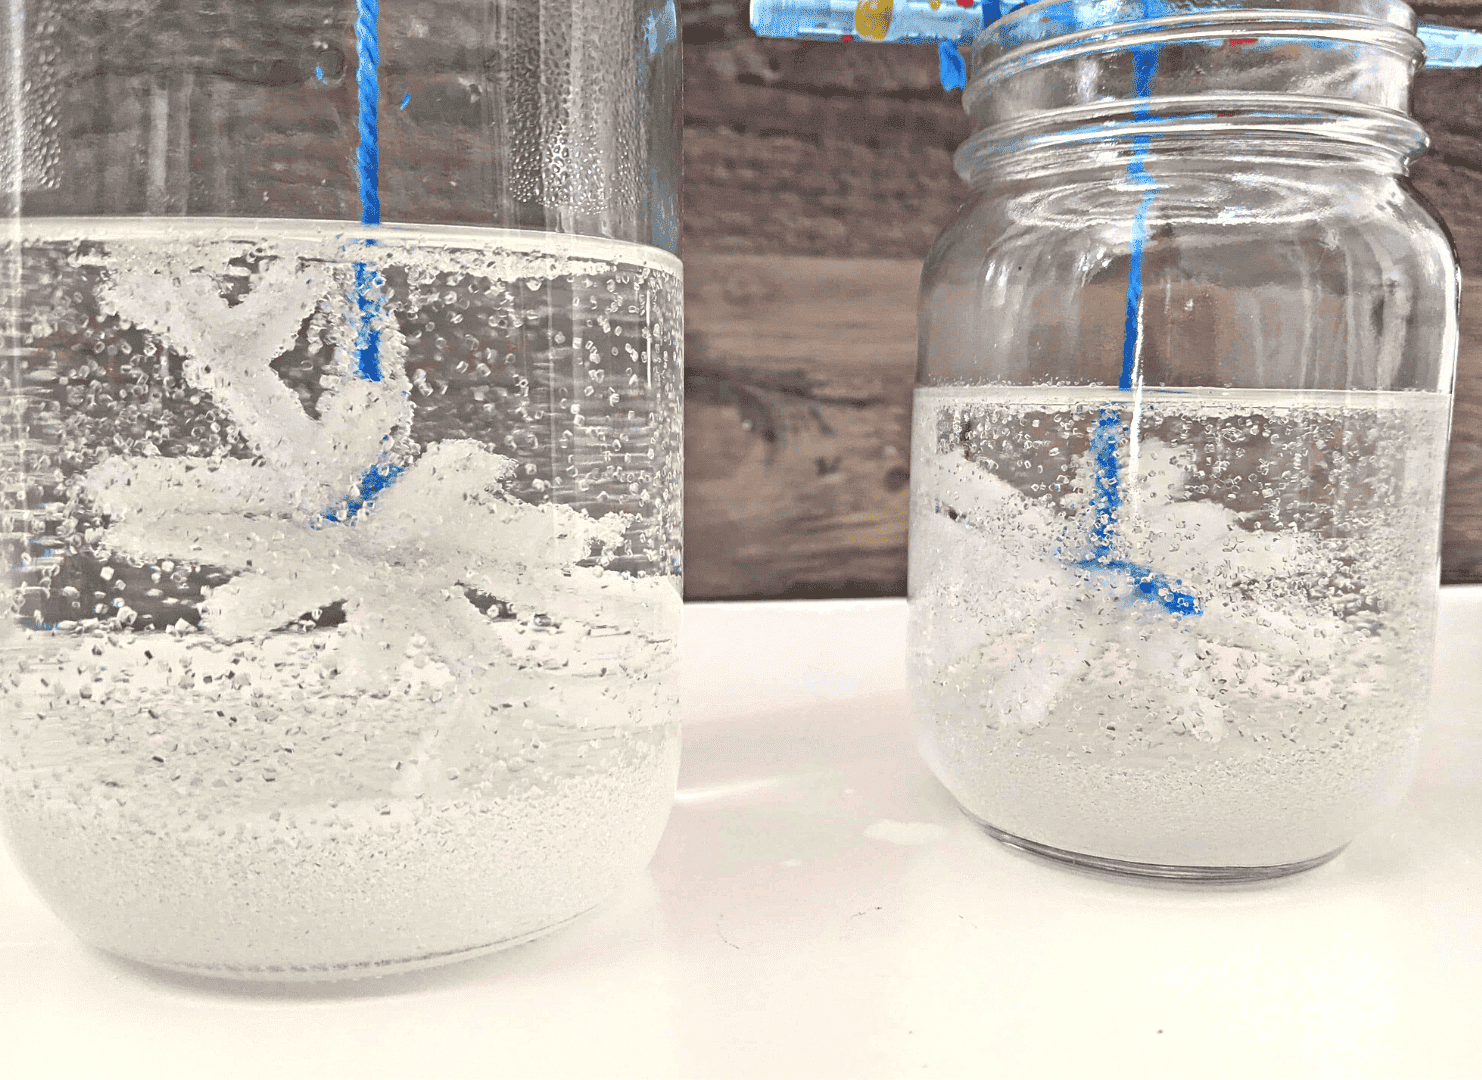
- Make the Borax and water mixture by combining 3 tablespoons of Borax for every cup of water. You will need at least 2 cups of water if doing one design. (We made 4 cups and used them for a small and a large Mason jar.) The Borax will not dissolve in the water; you will see it precipitate out of the water.
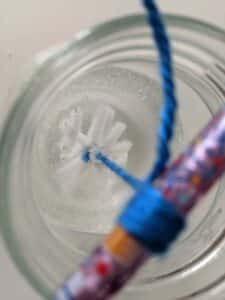
- Wrap the yarn around the pencil and place the snowflake into the mixture. It should not touch the bottom.

- Give the mixture a gentle stir.
- Let sit undisturbed for 18-24 hours. Check it every few hours to see how fast the crystals are growing.


Video
More Snowflake Resources
I hold a master’s degree in child development and early education and am working on a post-baccalaureate in biology. I spent 15 years working for a biotechnology company developing IT systems in DNA testing laboratories across the US. I taught K4 in a private school, homeschooled my children, and have taught on the mission field in southern Asia. For 4 years, I served on our state’s FIRST Lego League tournament Board and served as the Judging Director. I own thehomeschoolscientist and also write a regular science column for Homeschooling Today Magazine. You’ll also find my writings on the CTCMath blog. Through this site, I have authored over 50 math and science resources.