String Art Project

I’ve been wanting to try string art for a while. The kids ran with it and their projects turned out great!
My kids love art projects. We do a lot with paint, chalk pastels, and clay – maybe too much. While the kids have still been excited about art, lately I can tell they’ve been getting a little bored with the same old projects and media.
So, I’ve been combing Pinterest looking for new art projects that would be fun and let them be as creative as they want to be. I wanted something unique and something that did not use the normal art supplies.
Enter String Art!
String Art Supplies
String art uses just a few supplies and it is basically mess free! You might even have the supplies for string art at home right now.
- Scrap wood – We used 2 x 4 and 2 x 6 scraps. The wood just needs to be thick enough that the nails won’t go through. The wood can be stained, painted, or left natural. If you leave the would natural, you might want to sand it a bit to clean it up.
- String – Embroidery floss or crochet thread works well.
- Nails – Trim nails work great. They have small heads that won’t take away from the string color and design.
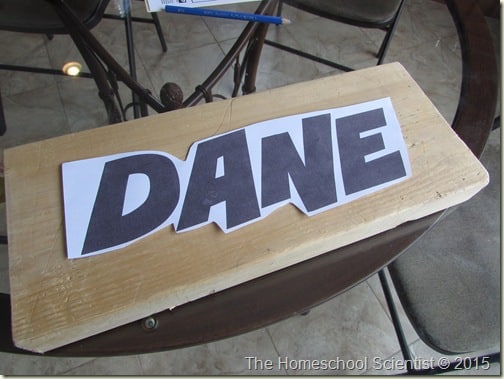
- Pattern – Print out letters, words, or images that you want to create with your string art. Use a copier to size the image so it fits your piece of wood.
String Art Directions
The kids did this project all on their own. From choosing the wood to adding the thread. I just stood back and hoped they didn’t hurt each other with the hammers.
Step 1: Choose your design

Any simple design will do. Letters, names, trees, flowers, animals….
Step 2: Print your design
We printed out letters using Word and Picmonkey. Any simple image would work.
Step 3: Choose a board for your design
Step 4: Tape the design to the board
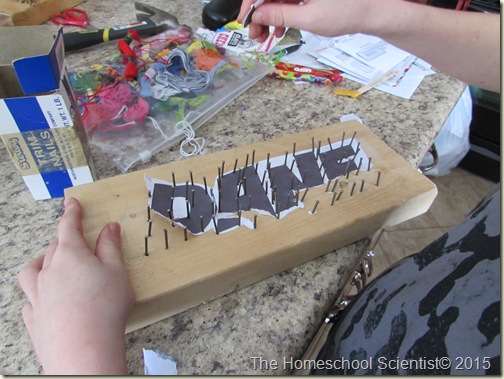
Step 5: Hammer nails around the pattern

We hammered nails around our letters leaving a finger space between the nails.
Step 6: Tear away the paper
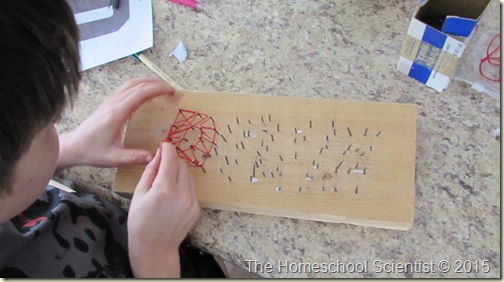
Step 7: Wind the thread around the nails

Colorful embroidery floss works great for this. Tie a knot around your first nail. Then, start winding the thread around all the nails.
You can start by outlining the pattern to make sure you don’t cover up the open spaces. Experiment with various patterns or go random until you get the look you want. When your work is complete, tie a knot around your last nail. Then, trim the extra thread.
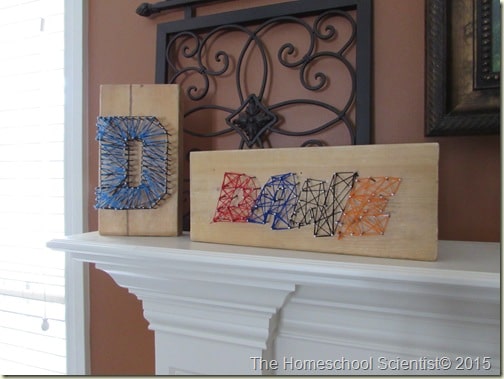
Step 8: Display your work of art!

More Art Projects
The Link Between Science And Art
Homeschool Art Pinterest Board
Linked to…


