Spider Craft for Kids
In this spider craft make a web and spider from a few craft supplies. Then, label the parts of a spider using the printable labels.
Yield: 1 spider and web
Equipment
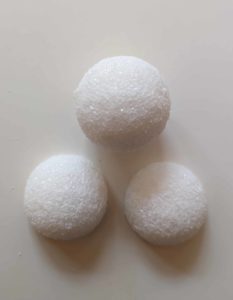
- 1 6" (circumference) Styrofoam ball
- 8 Chenille sticks, color of your choice You will need 4 for the legs.
- Craft pain in varying colors
- 6 to 12 "Googly" eyes
- 3-4 Toothpicks You only use 2, but have a few on hand.
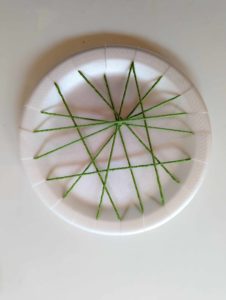
- Several yards of yarn
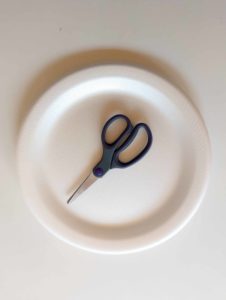
- 1 Styrofroam or paper plate
- Glue
- Scissors
Instructions
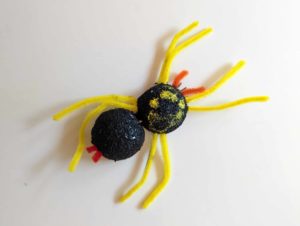
- Cut the Styrofoam ball in half.
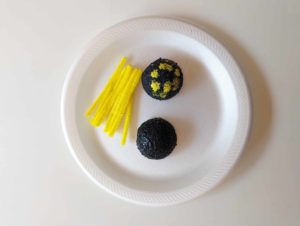
- Paint the two halves.

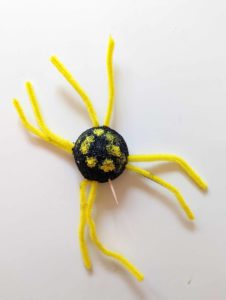
- Cut 8 pieces of Chenille stick for the legs.
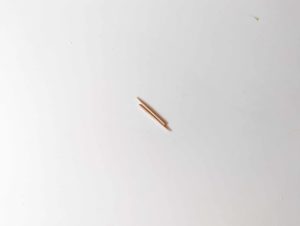
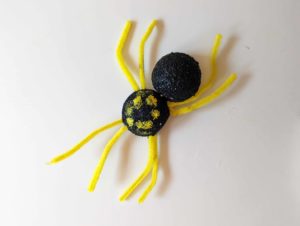
- Cut a toothpick in half. This will be used to connect the two parts of the body.
- Place the legs. Place the toothpick half into the base of the "top part" of the spider. This will be a connector to the "bottom half."
- Place the other part of the spider into the toothpick to connect the body pieces.
- Cut two small piece of chenille stick to make the pedipalp.
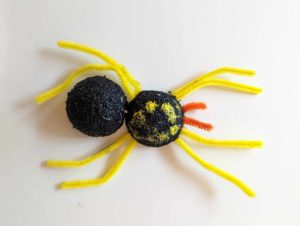
- Cut a second toothpick in half. These will become the fangs.
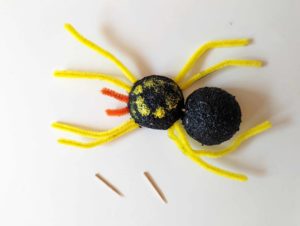
- Cut two small pieces of chenille stick. These will become the spinnerets
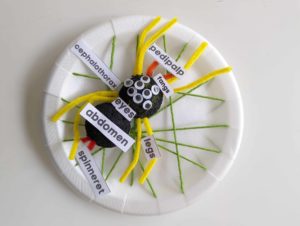
- Gather the Styrofoam plate and scissors. Cut notches around the plate. The yarn will be placed in between the slits to create the web.
- Cut a piece of yarn and begin criss-crossing it across the plate to make the plate.
- Glue the spider to its web.
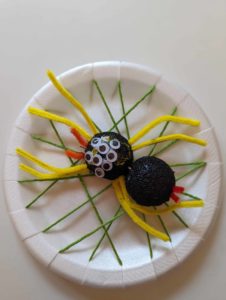
- Cut out the labels from the printable and glue the labels in place.