

Puffy Paint – How to Make Puffy Paint
Young children love to learn how to make puffy paint. The squishy-ness and the way it oozes just makes puffy paint an amazing experience for our littlest scientists!
Puffy paint is a fun way to blend science (chemistry) and art. In this activity we provide several templates, but we used the pumpkin template.
Young children love learning how to make puffy paint. The squishy-ness and the way it oozes just makes puffy paint an amazing experience for our littlest scientists!
Older students, even those taking high school biology, will learn about ionic bonds, polymers, and cross-linking in this activity. So, this activity can definitely be used with a wide range of ages.
Puffy paint is a fun way to blend chemistry and art. In this activity we provide several templates, but we used the pumpkin template. You can download the template templates below; they include a pumpkin, an apple, and several leaf templates.
Change the colors and use other shapes for different seasons or themes – flowers, insects, Spring, planets, and so much more!
It’s best to use card stock with the puffy paint, but if you have poster board or a piece of card board, you can certainly print the template on paper and then trace it onto the heavier material. (I’m all about saving money and using what we have!)
How to Make Puffy Paint – And a Bonus!
Puffy paint and slime…two chemistry activities and two sensory experiences at one time.
Warnings:
- An adult should handle the contact solution and baking powder for children under the age of 6.
- Adult supervision is suggested.
- This activity is not suitable for children under the age of 4.
- The paint and slime should be kept away from eyes.
How to Make Puffy Paint – And a Bonus!
So, we’ve added something fun to our puffy paint recipe. Just add two ingredients and you have slime!
Puffy paint and slime…two chemistry activities and two sensory experiences at one time.
Puffy Paint - How to Make Puffy Paint
Materials
- 1 cup foam shaving cream
- 3/4 cup of school glue
- Orange food coloring
- Paint brush or two
- Pumpkin template (or other template if doing something other than a pumpkin)
- Card stock
- Cinnamon stick for pumpkin stem or use a small piece of a stick.
- Optional: construction paper
- 2 tablespoons of contact solution with boric acid
- 1 teaspoon baking soda
Tools
- How to make puffy paint - Tools you need: Bowl, spoon, paper towel, paint brush, something to cover your work surface.
Instructions
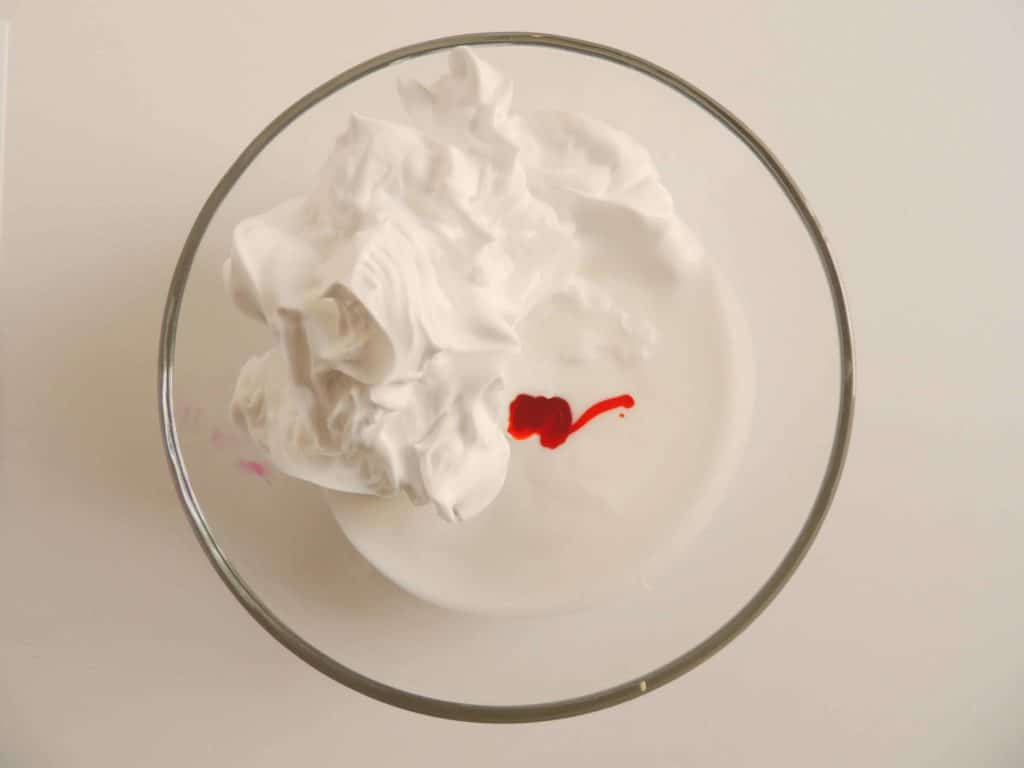
- In a medium mixing bowl, mix shaving cream, glue, and food coloring. Stir well. This is the puffy paint. (Yes, puffy paint is that easy to make!
- Using the paint brush, paint the pumpkin with puffy paint.

- You can use a cotton swab to clean up the edges around the pumpkin or leave as is.
- Cut the cinnamon stick in half. If using a stick from outside, cut it to length to make the stem of the pumpkin. Put it in place with a dab of glue and placing the bottom of the stem in the puffy paint.
- Optional: Once the paint is dry, cut out around the edge, and glue it to the construction paper.
- BONUS: Turn this puffy paint into slime by adding the contact solution and baking soda. If the contact solution does not have boric acid, the mixture will not result in slime.


What is Happening
This is an excellent activity for teaching older children about ions, polymers, and cross linking.
The glue is made up of flexible molecules called polymers. Polymers are large flexible molecules made of smaller molecules called monomers. These polymer molecules in glue can “slide” by each other, so the glue is a more liquid form.
When the glue in the puffy paint mixes with the borate ions in the contact solution (which contains boric acid and water), the borate ions connect the polymer molecules in the glue. This is called cross-linking. This is what makes the puffy paint take on a more solid form when mixed with the contact solution. The more of the connections made during cross linking, the less likely you’ll be able to dissolve bonds that are formed.
This is why the glue becomes loses its ability to flow and becomes more solid. The bonds between the polymer molecules are strengthened by the borate ions. In fact, The polymer molecules become tied together.
If your student is old enough, this is a good link that explains the cross-linking that occurs in the manufacturing of contact lenses.
Click here to open the PDF with the puffy paint templates
Other Chemistry Activities
For younger students:
Chemical Reaction Pumpkin Patch

I hold a master’s degree in child development and early education and am working on a post-baccalaureate in biology. I spent 15 years working for a biotechnology company developing IT systems in DNA testing laboratories across the US. I taught K4 in a private school, homeschooled my children, and have taught on the mission field in southern Asia. For 4 years, I served on our state’s FIRST Lego League tournament Board and served as the Judging Director. I own thehomeschoolscientist and also write a regular science column for Homeschooling Today Magazine. You’ll also find my writings on the CTCMath blog. Through this site, I have authored over 50 math and science resources.