

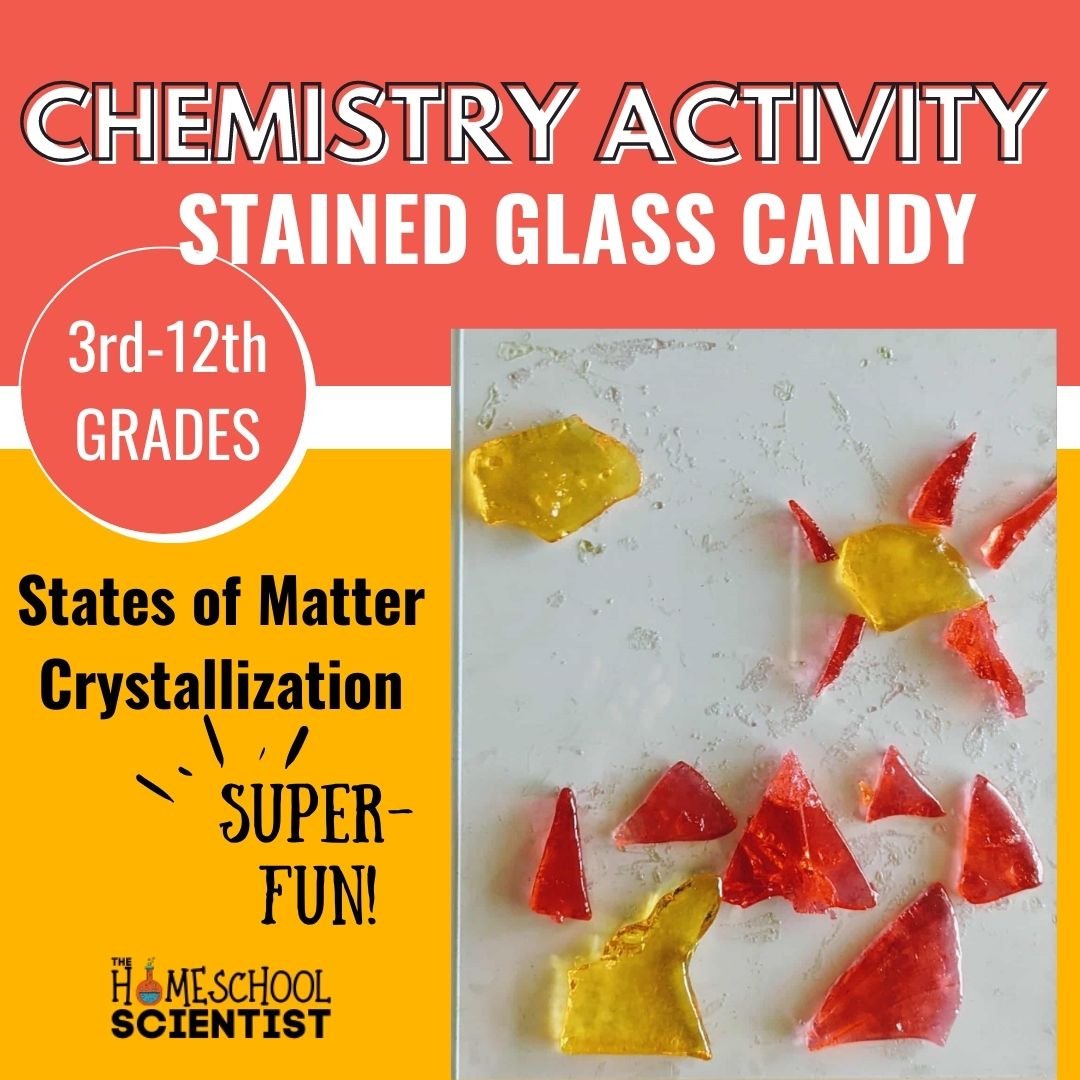
Stained Glass Candy Chemistry Activity
This stained glass candy chemistry activity mixes history, science, and art. Students will observe a sugar, water, and corn syrup mixture transformed into a molten, amorphous substance.
There is so much chemistry happening with this activity that it’s appropriate for elementary through high school. If you’re studying the states of matter, mixtures, or the chemistry of sugar, this will make an interesting addition.
But the best part is the stained glass art project with the cooled mixture. Add in an art study (some links are provided below) and turn this science project into a STEAM activity!
History of Stained Glass
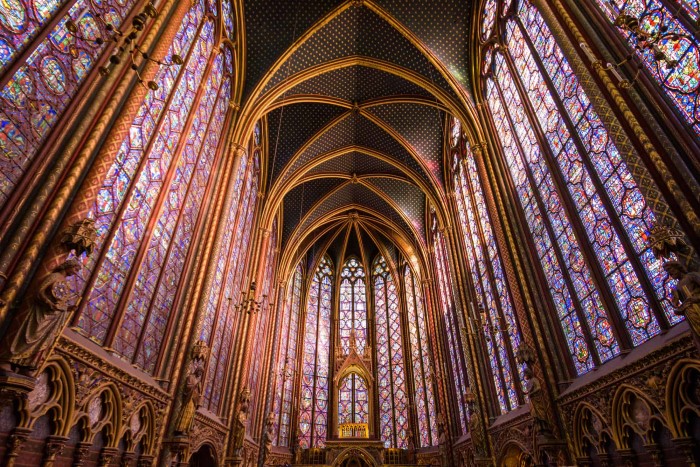
The use of stained glass, in one way or another, goes back to ancient times. The Stained Glass Association of America has an interesting write-up about the history of stained glass. The earliest known use of glass beads goes back to ancient Egypt between 2750 and 2625 BC.
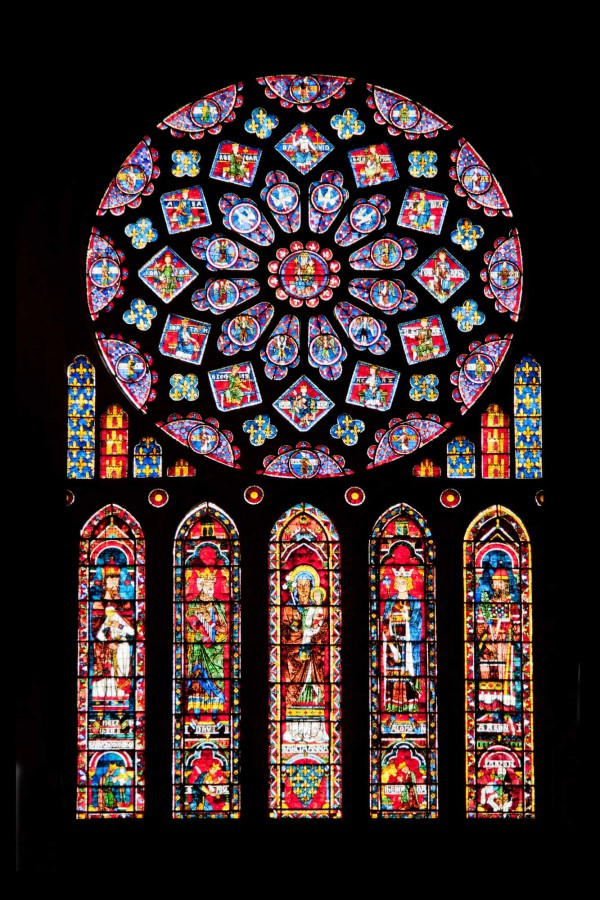
Stained glass windows became very popular in the Middle Ages. Between 1194 and 1220, the Chartres Cathedral in France was constructed and is one of the most famous examples of the early use of stained glass in a building.
This is one of the sections of stained glass from Chartres Cathedral.
How Glass and Stained Glass are Made
Glass is made from melting silica at extremely high temperatures, then letting it cool.
The silica is heated to a molten state, and then traces of metal oxides or metals are added to the silica to add color to the glass.
This is an excellent demonstration of how glass is manufactured.
The Chemistry of Making Candy Glass
We use table sugar, corn syrup, and water in this candy glass activity.
Corn syrup is made of starch, more specifically, glucose. Table sugar is granules of sucrose crystals.
You might want to have your child stir a tablespoon of sugar into a half cup of water? What happens? (The sugar dissolves.)
What this means is that the sucrose granules become more soluble in water. When the water is heated, the sugar’s ability to dissolve increases, so more sugar can dissolve faster in hot water than in cold water. You can test this by stirring the same amount of sugar into very hot water and cold water cup.
We will boil table sugar, corn syrup, and water in this activity. The water will begin to evaporate, and this mixture will become molten.
Notice how the sugar went from a solid state to a molten state. What happens when it cools? This is a question to ask your student; what do they think will happen. (It will cool and become solid.)
If we didn’t have the corn starch present, the sugar would begin to crystallize. But, the corn syrup, which is a starch made of glucose, begins to break apart as its heated. The glucose molecules move in between the sucrose molecules. This helps prevent the sugar mixture from crystalizing.
Please note that the mixture becomes unstable once the water has evaporated and the sucrose sugar and corn syrup are heated. When it reaches 300 degrees on the candy thermometer, we’ll remove the mixture from the heat.
The mixture is now amorphous and is an example of molten glass. It has no shape. Point this out to your student as you pour the mixture out onto the foil. Amorphous means it does not take on a clearly defined shape.
Pour the mixture very carefully from the pot to the bowls to add the food coloring. Then, you’ll pour it onto the foil-lined baking sheets.
This is where you need to be super careful as you mix in the food coloring and pour out the mixture. You’ll notice how it bubbles if you pour some of the mixture into a bowl to add in coloring before pouring it out to harden on the foil.
Once the mixture cools, it is back to a solid.
The sugar began as solid sugar crystals, then dissolved in the water; next, the mixture became molten, then cooled back to a solid.
Resources Before Getting Started
As you get started with this activity, here are some resources of interest.
-
- If doing this activity with 8-12th graders, the American Chemical Society has a very detailed explanation of what is happening on a molecular level. https://www.acs.org/content/acs/en/education/resources/highschool/chemmatters/past-issues/archive-2014-2015/candymaking.html
- Video explanation of how glass is made – YouTube video
- A wonderful video showing how a stained glass window is made
Important note:
When we made our glass candy, I poured half of the molten mixture into a glass measuring cup, added red food coloring drops to it. Then, added yellow food coloring to the mixture still in the pot.
If you plan to make one color glass per batch, then add the food coloring directly into the pan.
It’s very important to note that the mixture is super-heated and unstable. When splitting the mixture to make different colors, the mixture will bubble and “boil.” So, please use caution.
Adult supervision required.
Equipment
- 1 Candy thermometer
- Safety glasses
- 1 cup Table sugar
- 1/2 cup Water
- 1/2 cup Clear corn syrup
- Several glass measuring cups
- Several spoons
- Large mixing spoons
- Food coloring
- Foil baking sheet or cooking sheet One sheet per color made
- Foil
- Vegetable spray Optional
Instructions
- Cover the foil pan or cookie sheet with foil. You can spray it with acooking spray. We did not, and did not have a problem with the candy sticking.But, you might want to use the spray!
- Determine if you are making one batch and splitting it to have two colors orif you will make several batches of differing colors.If you are splitting this batch into two colors, have an extra glass measuring cup or bowl handy with a spoon. You will need to move quickly to color the mixture before pouring it out on the foil to cool and harden.
- Measure 2 cups of sugar and place it in a saucepan.

- Add ½ cup of water
- Add ½ cup of clear corn syrup

- Add ½ cup of corn syrup to the pan
- Boil the water, sugar, and corn syrup mixture for about 15 to 20 minutes until the candy thermometer reaches 300 degrees F.

- If your thermometer will clip onto the side of the pan, then do so. We used a set of tongs to hold the thermometer.
- Stir occasionally. As the mixture reaches 300 degrees, talk about the molten state of the mixture. The sugar went from sugar crystals dissolving in the water to getting molten as the water evaporated.
- When the mixture reaches 300 degrees F, remove it from the heat.
- Color the mixture. Please be careful if you pour part of the mixture into a separate glass bowl or measuring cup to create a second color. You’ll need to work fast. This does harden quickly.
- Carefully pour the mixture onto the foil and let cool.

- After 2 hours, take the foil pans, hammer or mallet, and safety goggles outside.
- Put on the safety goggles and very lightly tap the candy “glass” with the hammer.You don’t want to smash it too much. You do want pieces that can be used to make a stained class picture or window.
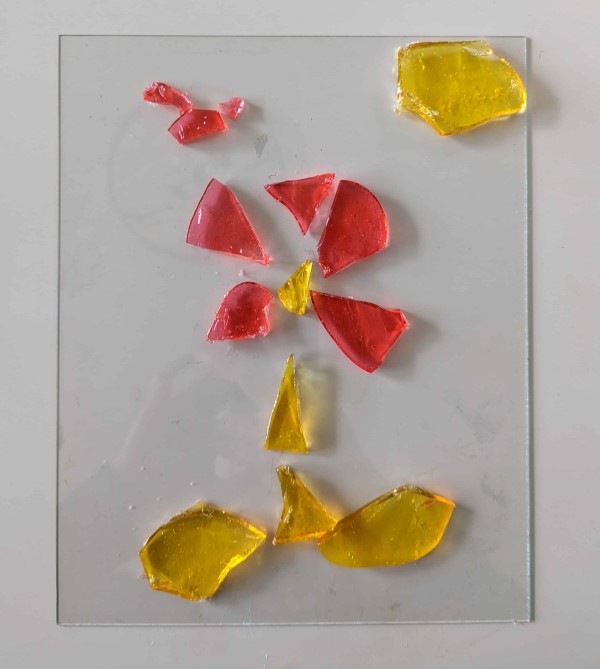
- Arrange the stained glass candy on the plastic from the picture frame. Using this hard plastic piece makes it easier to pick up pieces and move them.


We made a flower stained glass picture and a mountain range 🙂
With a few simple ingredients, this activity helps students see how heat changes a solid into a liquid, then a molten susbtance, which then cools and becomes a solid again.

I hold a master’s degree in child development and early education and am working on a post-baccalaureate in biology. I spent 15 years working for a biotechnology company developing IT systems in DNA testing laboratories across the US. I taught K4 in a private school, homeschooled my children, and have taught on the mission field in southern Asia. For 4 years, I served on our state’s FIRST Lego League tournament Board and served as the Judging Director. I own thehomeschoolscientist and also write a regular science column for Homeschooling Today Magazine. You’ll also find my writings on the CTCMath blog. Through this site, I have authored over 50 math and science resources.