


How to Sprout an Ear of Corn Activity for Kids – with Printable

Can an ear of corn start growing without being planted in soil? This sprouting an ear of corn activity provides our kids a close-up look at seed germination as kernels develop roots and green shoots while still attached to the cob. With a dried, untreated ear of corn, water, and a container, you can enjoy a plant investigation with your children. I love this too because preschoolers through adults will have fun waiting for the sprouts to appear.
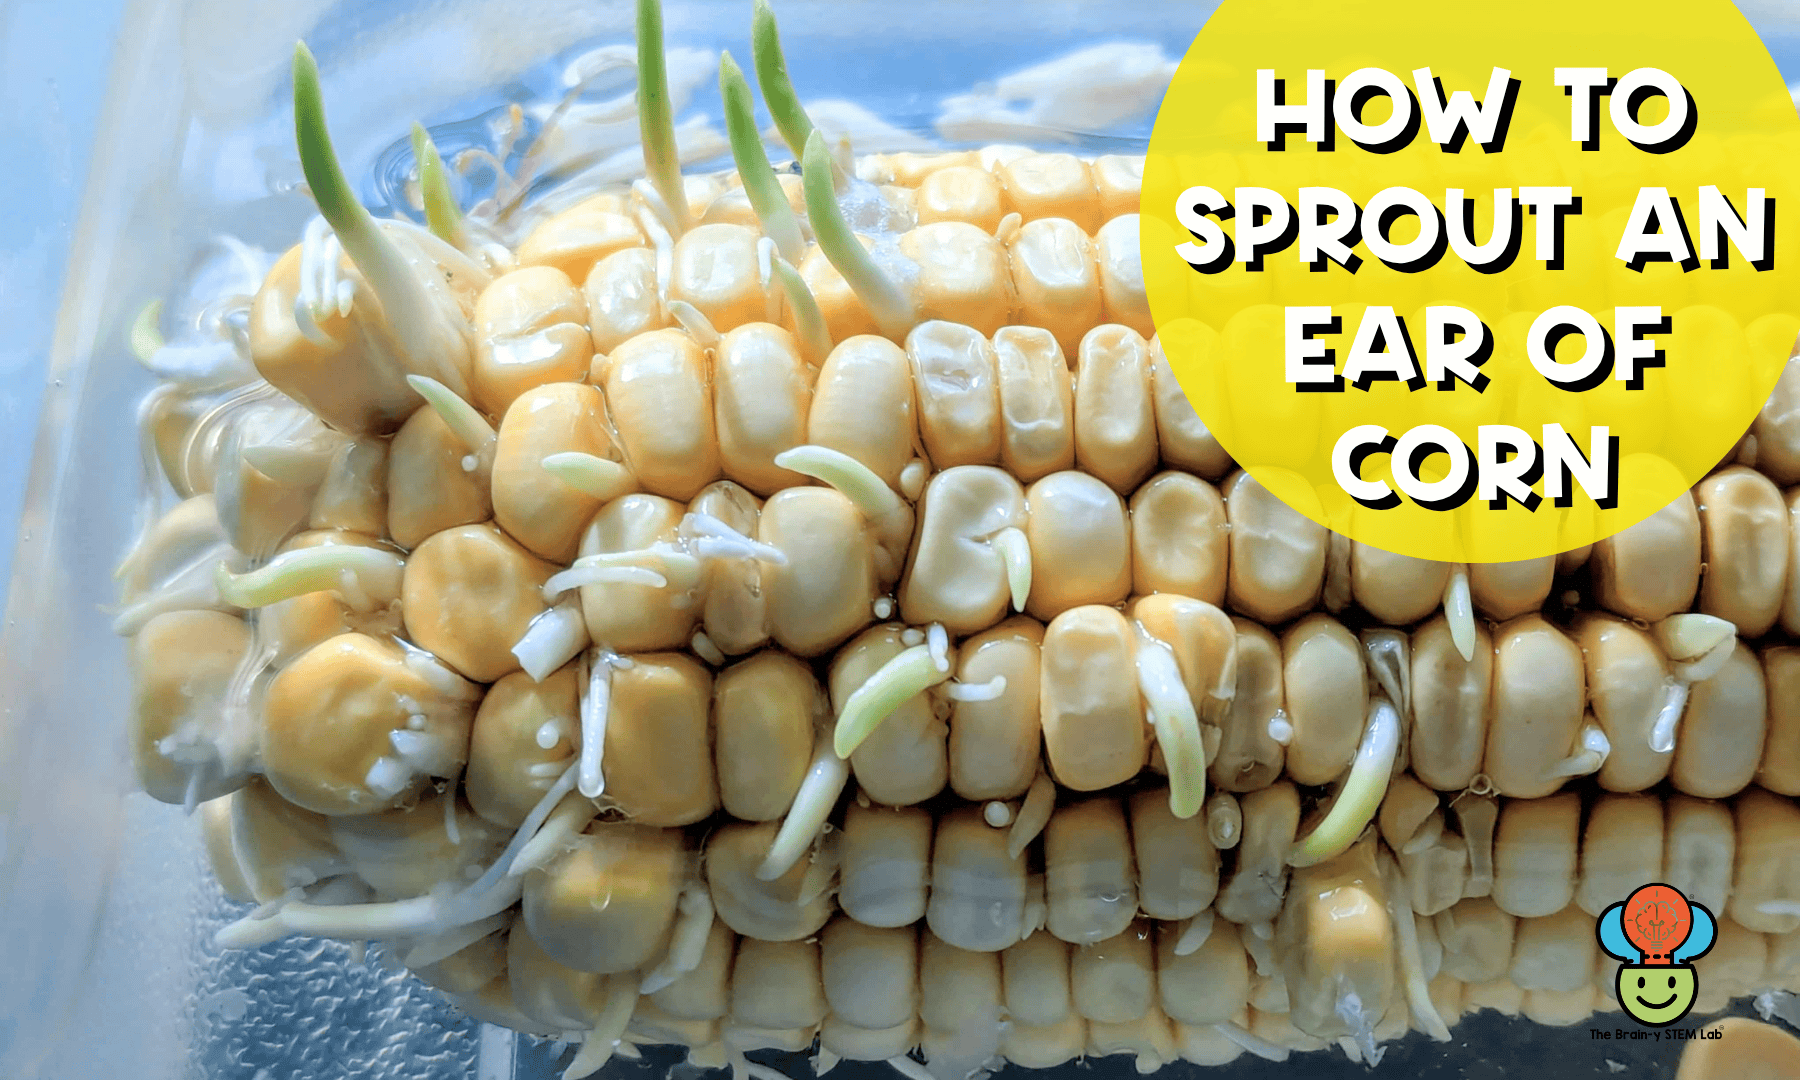
We spotted our first thin, white roots after four days, followed by green shoots on day six. (At first the sprouts looked like corn silk floating in the water, at the bottom of the cob.) Each daily check brought something to notice and more questions to explore. Was that silk or sprouts? How many kernels will sprout? Were kernels with black growth around them going to hurt the sprouting process? Should we remove those kernels?
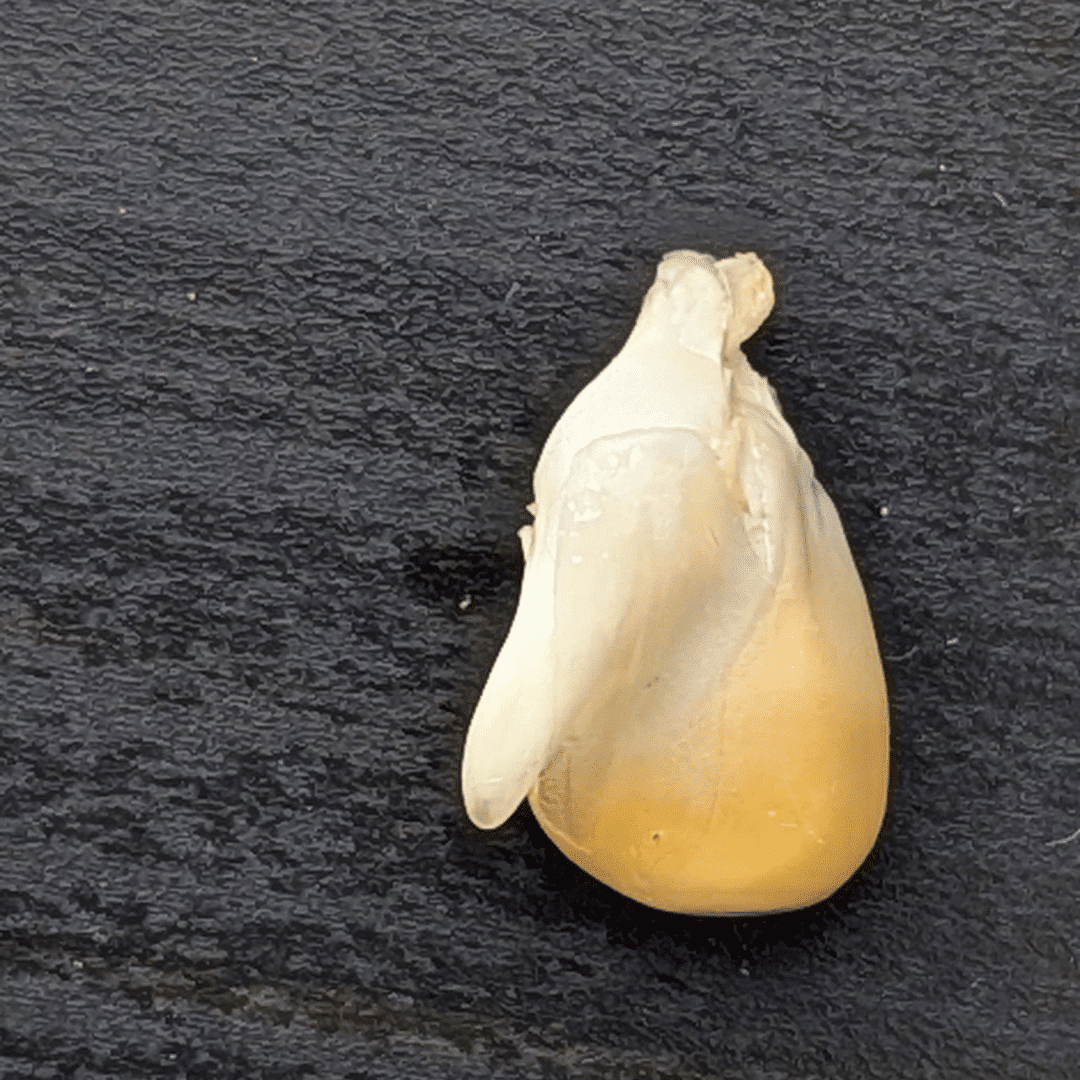
On day six some kernels fell away from the cob and were on the bottom of the container. We were curious to see if those would sprout (by the end of Day 5 they were sprouting!) We decided to keep the water, then plant in soil a few days later.
Try this activity as part of your spring science lesson, a gardening unit, or a study of plant life cycles. It also can complement a Native American study as you explore the importance of corn.
How to Sprout a Corn Cob Activity for Kids – Materials and Directions
- Dried, untreated corn cob. We went to a local farm supply store where they happened to have a spare cob sitting on a desk! So, we received ours for free, but you can purchase these cobs. Do read the packaging to see if they have been treated. The kernels should be mature and pretty much dried.
- The corn that is in the grocery store is harvested while its kernels are still immature. A mature, dried ear is a better choice for this activity.
- A container big enough to hold the corn and enough water to keep it halfway covered.
- Tap water
- Disposable gloves
- Marker and index cards or pieces of paper to write START, 1 Day, 2 Days, etc.
- Magnifying glass (optional)
- Worksheets from the printable
- A sunny window area
Direcitons:
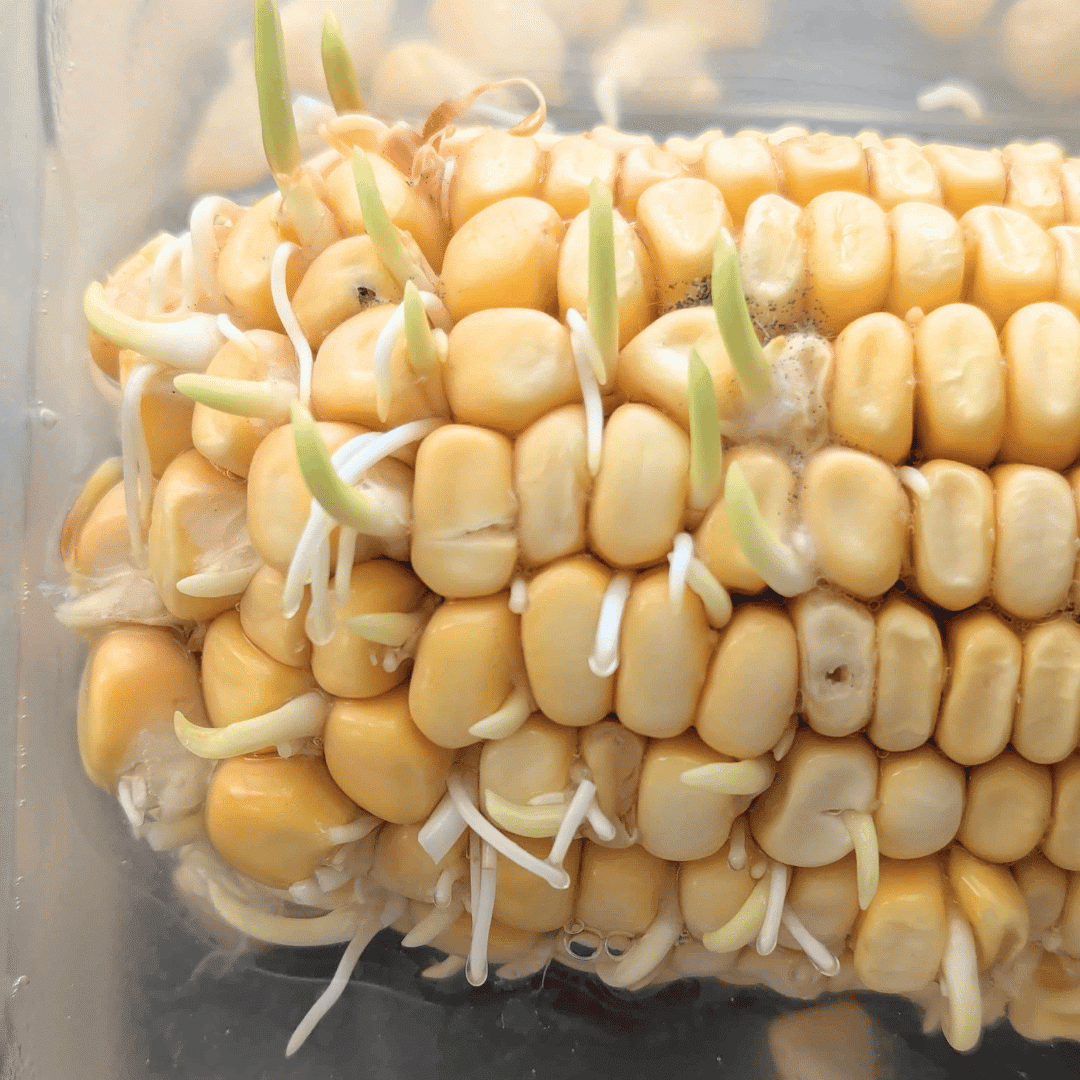
- Put the cob on its side in the container.
- Prep the “time elapsed” labels; use START for the starting day. Then, 1 Day (or 24 hours), etc. on the subsequent cards.
- Place the container in front of a sunny window. The area should stay fairly warm (63 degrees Fahrenheit worked for us).
- Fill the container with tap water so it covers the cob about halfway.
- Watch the water level every day. You will need to change the water every other day and add a little water on the days you do not change it.
- Log your observations on the worksheets provided in our printable resource. Use the magnifying glass to look closely at the cob, kernels, and sprouts.
- Take pictures each day and look closely, especially at the surface of the water or near the bottom of the corn (the part submerged in water). We started to see “something floating” on the water or just below the waterline around Day 4.
- Keep observing and taking notes. By Day 6, you may start to see green sprouts. If you don’t see sprouts on Day 6, don’t give up.
- Some kernels will fall away from the cob, and most of those will probably have little sprouts. Leave those for a few days, then, optionally, you can plant those in planters and keep them indoors to see what happens. (We had temperatures in the 70s and 80s, so we put them outside.)
- We stopped our observations on Day 10 because mold began to grow and we were storing our cob indoors. If the weather is warm enough, you might want to move your corn cob outside.
- If you haven’t already, save a few of the sprouted kernels, plant them in soil to see what happens, and take this further. Our Get Growing resource is a good companion at this point!
How to Sprout A Corn Cob Activity – Helpful Tips
Here are a few tips we learned along the way that I don’t see listed on other corn cob sprouting posts:
- For the first few days, have a pitcher or gallon of water handy. This will help your student add a little water each day without having to haul it from the sink. However, things will change around day 6. (See the next tip.)
- Prepare to change the water twice a day, especially by day 6. The water will get a bit organic-smelling.
- Use gloves when handling the corn cob; it can start to get a little slimy, and by day 10, you might have a little mold on the cob.
- Keep a rag or paper towel handy because you or your students will want to pick up the corn and look at the bottom. Definitely wash hands after handling, especially as the days go on and the water gets pretty organic!
- If you have some pots with soil handy, prep those so you can plant a few corn seeds. If it’s wintertime, you’ll need a warm, sunny spot to keep these.
Request the Free Printable on How to Sprout a Corn Cob
Enjoy this engaging activity with your children, classroom, co-op, Scout troop, or other group and request the free printable. It includes instructions, information about monocots and dicots, fun “lab worksheets,” and then some just-for-fun pages. Check it out!

I hold a master’s degree in child development and early education and am working on a post-baccalaureate in biology. I spent 15 years working for a biotechnology company developing IT systems in DNA testing laboratories across the US. I taught K4 in a private school, homeschooled my children, and have taught on the mission field in southern Asia. For 4 years, I served on our state’s FIRST Lego League tournament Board and served as the Judging Director. I own thehomeschoolscientist and also write a regular science column for Homeschooling Today Magazine. You’ll also find my writings on the CTCMath blog. Through this site, I have authored over 50 math and science resources.