

Starting Seeds Indoors
Starting seeds indoors is one of my kids’ favorite activities of the year. They enjoy watching the seeds build root systems and dumping the seed cups to see the roots. We make extra seed starts each season so we can use some of the young plants to study roots. Plus, some of the young plants may not survive.
Starting in January, we begin saving food containers that can be recycled for starting seeds indoors around early March and April. In January, we also start looking at seed catalogs and web sites.

Two of my favorite seed companies are Baker Creek and Friendly Seed Company.
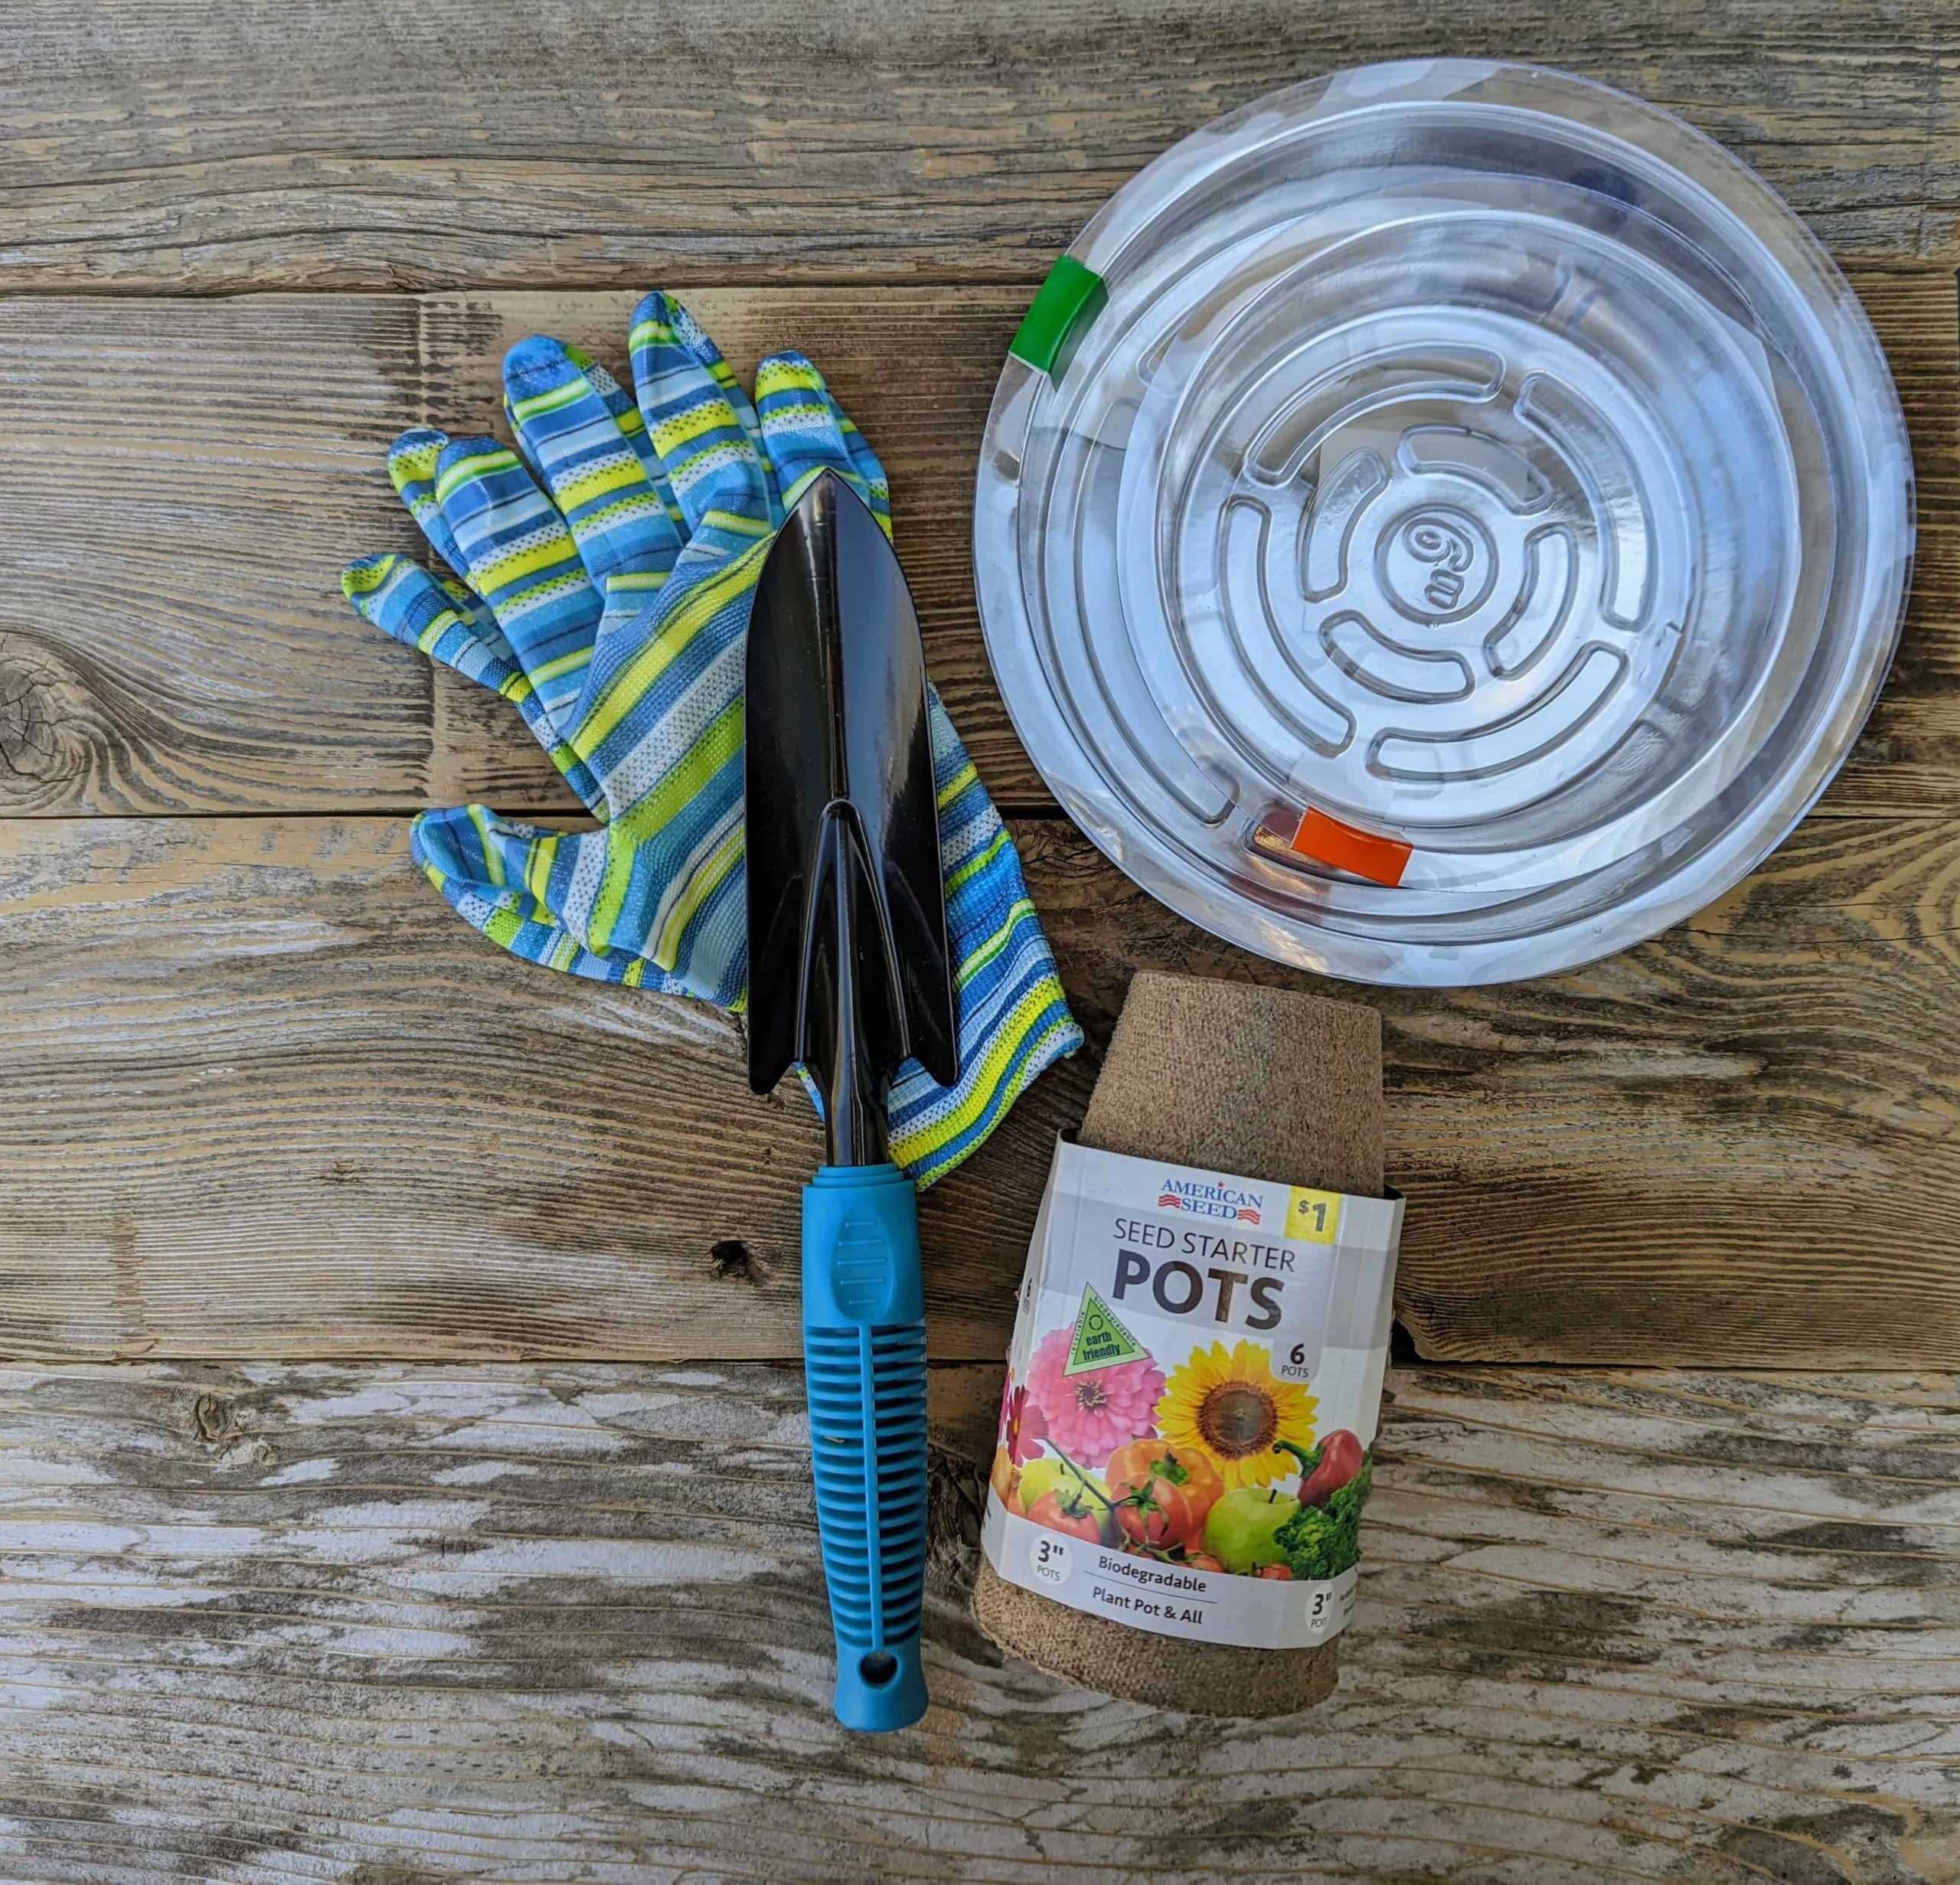
I’m also watching for the dollar stores to set out their gardening items for the upcoming season (Around late February-early March. Items don’t last long.) We pick up gloves for the kids (they are adult gloves, but they run small), trowels for everyone, a few starter pots, and the plastic dishes to hold water after watering the seeds in their containers.
Starting Seeds Indoors – The First Steps
Our first step for seed starting is mixing our soil: 1 bag of organic/non-fertilized, inexpensive potting soil + 1 bag of inexpensive composted manure. The boys had a great time using their muscles to open and dump bags. Mama did the mixing to ensure the soil stayed in the wheelbarrow.
We used recyclables, including plastic water bottles, small compost pots, and plastic cups to start our seeds. The cups and recyclables deeper than the average seed start container, cheaper, fairly transparent so we can see the roots and water levels, and we can write the seed varieties on the outside to keep track of what we’re growing. When we’re done with the recyclables, they get tossed into the recycle bin.
Here is our water bottle mini-pots we used for staring our seeds indoors.
Starting Seeds Indoors – Self-Watering Water Bottle Planters
Materials
- Empty water bottles
- Scissors or craft knife An adult should handle this item.
- Soil
- Small rocks
- Marker
- Seeds
- Water
Instructions
- Cut the water bottle in half.

- Trim the top of the bottom half of the water bottle, about a half inch past the point where the water bottle starts opening back up after necking down.
- Place the top of the water bottom upside down, into the bottom part of the water bottle, as shown below.
- Place a few small stones in the bottom of the water bottle planter.
- Fill the top half of the water with dirt, then place seeds on top of the dirt.

- Cover the seeds with dirt. Place the top half of the water bottle into the bottom half, with the opening pointing down. Fill the bottom half with water. Now, you have a self-watering planter. All you need to do is keep the bottom part full of water! Don't forget to mark the type of seed planted.


Related post: Starting Seeds Recycling Project
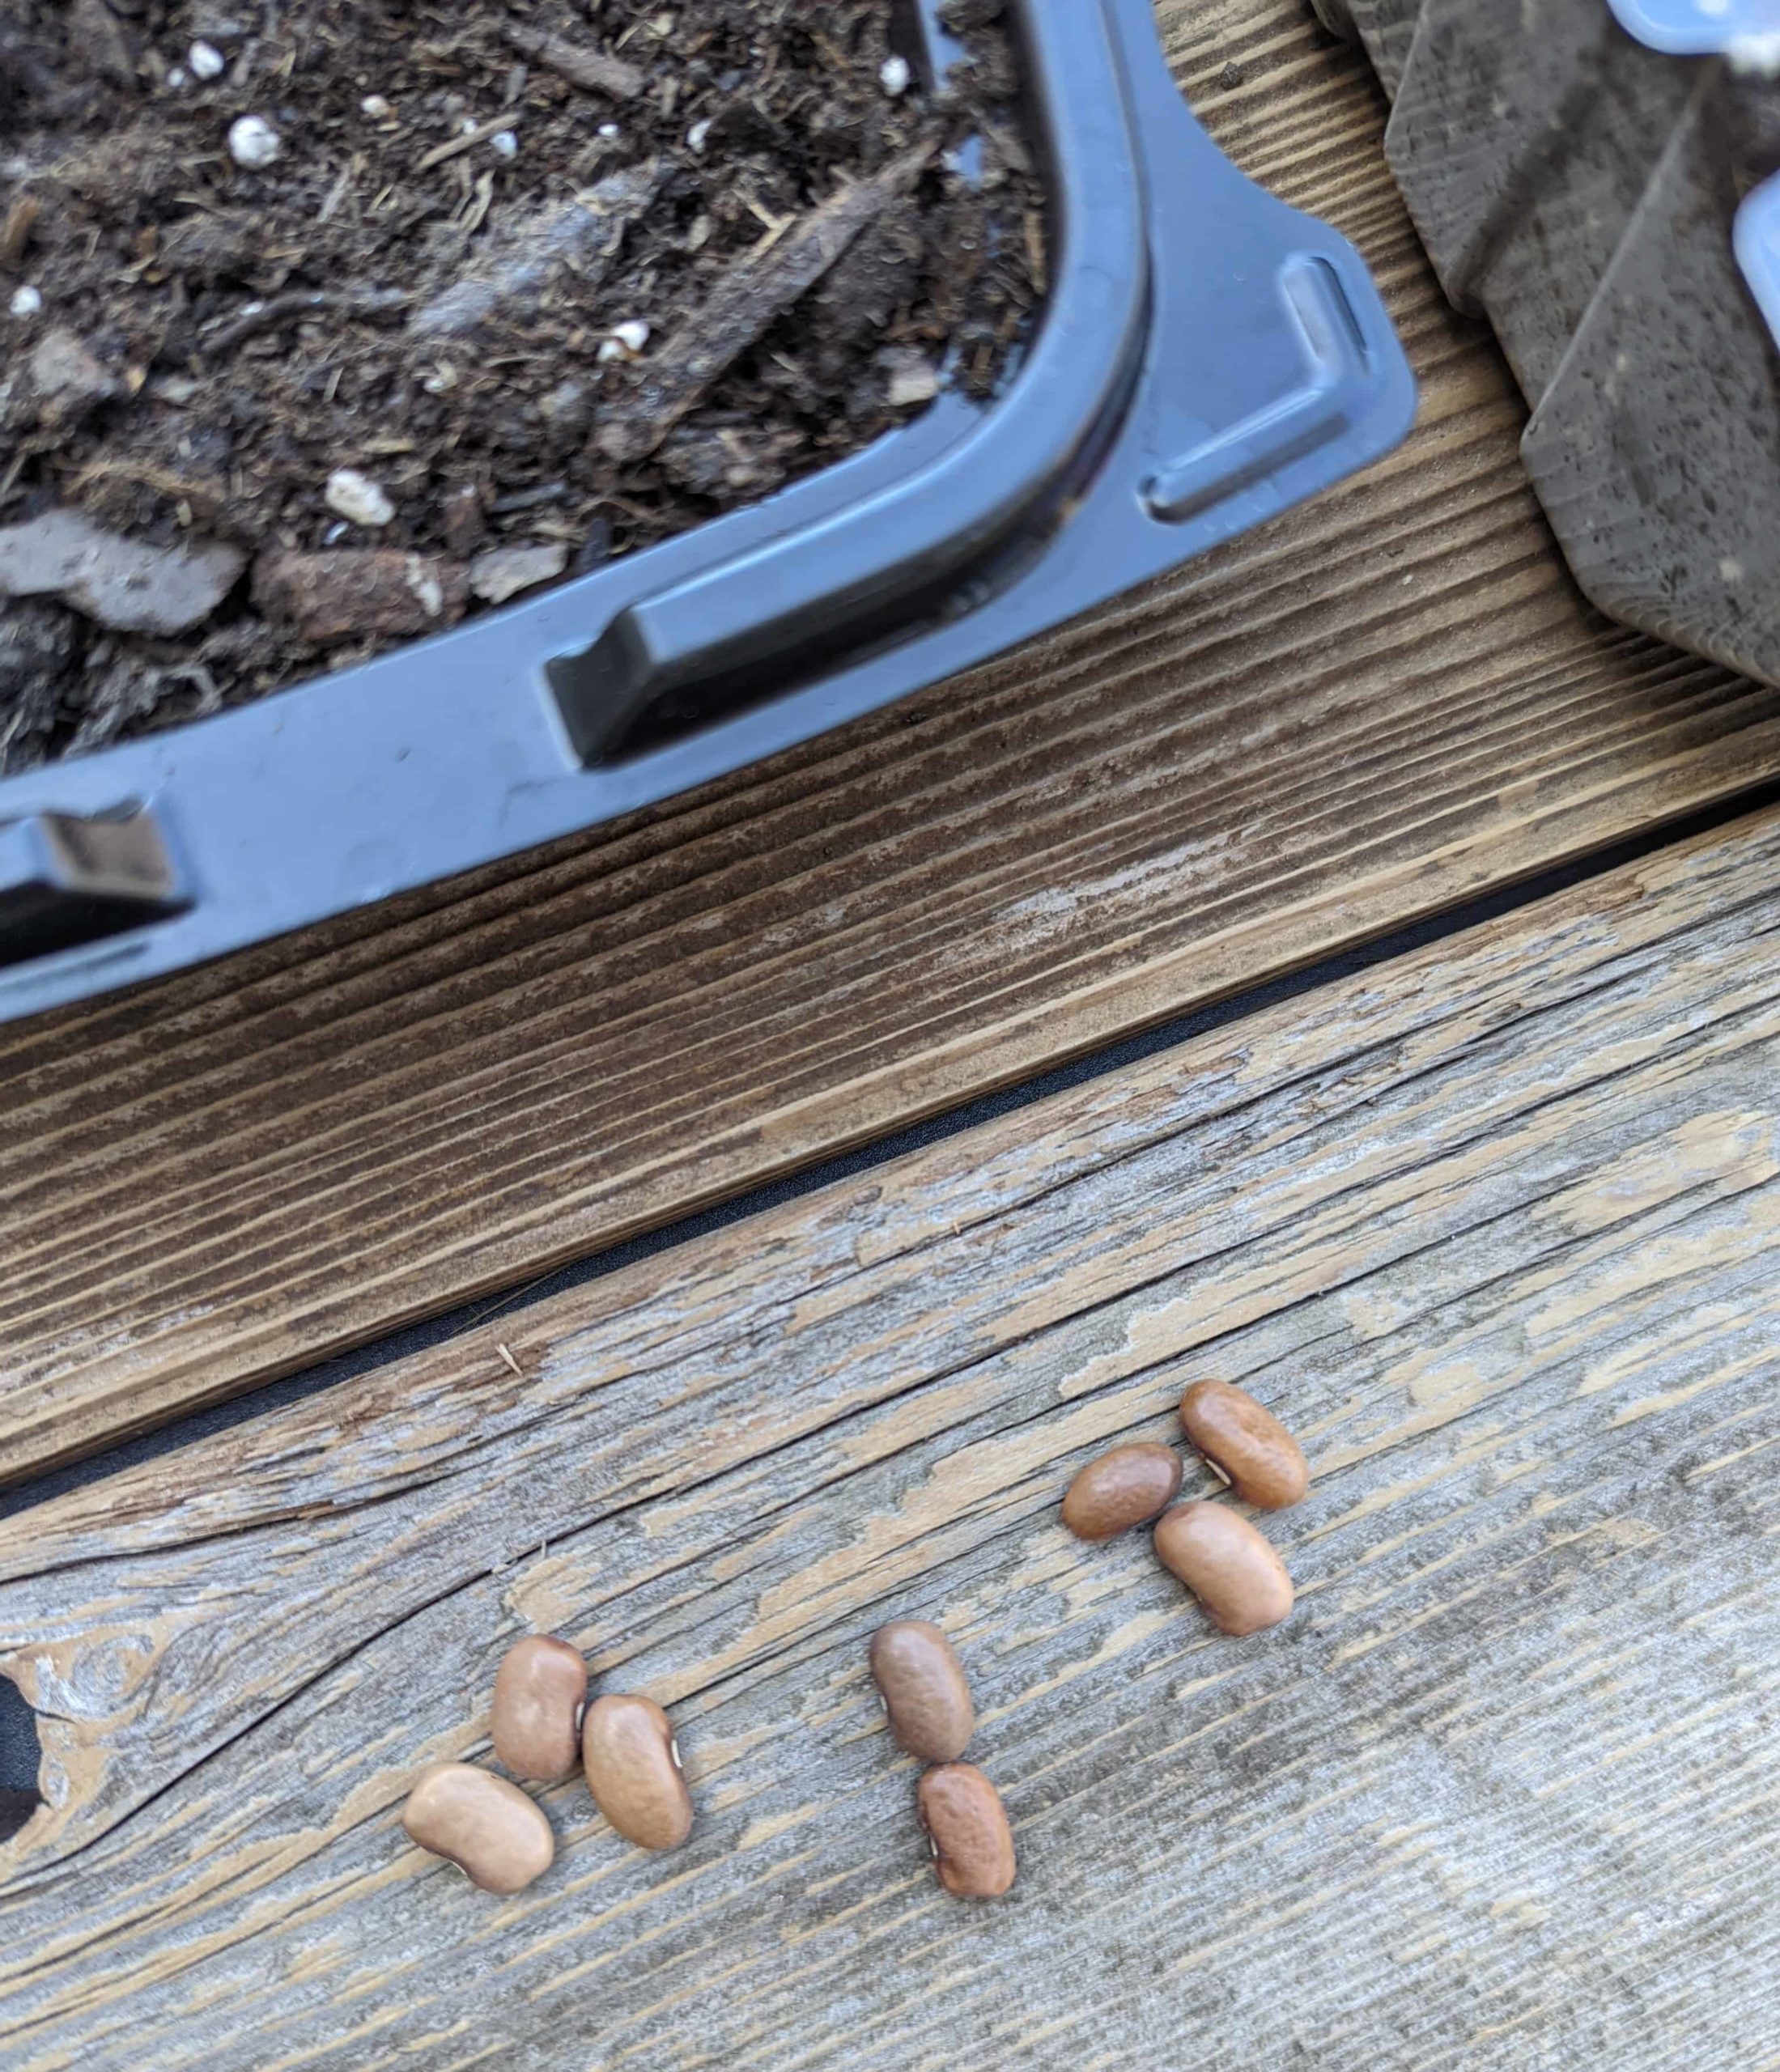
Scooping the soil is always a fun time. The kids like making tracks and faces in the soil. The hardest part is keeping the soil in the cups or soil container.

Once the cups are ¾ full, the kids poke a hole in the middle of the soil.
We count out our seeds, prepare a label with tape we have on hand (just happened to be yellow duct tape :)), and affix the label to the container.
The kids like to write directly onto the cups.
We cover the holes back up with soil after the seeds are in.
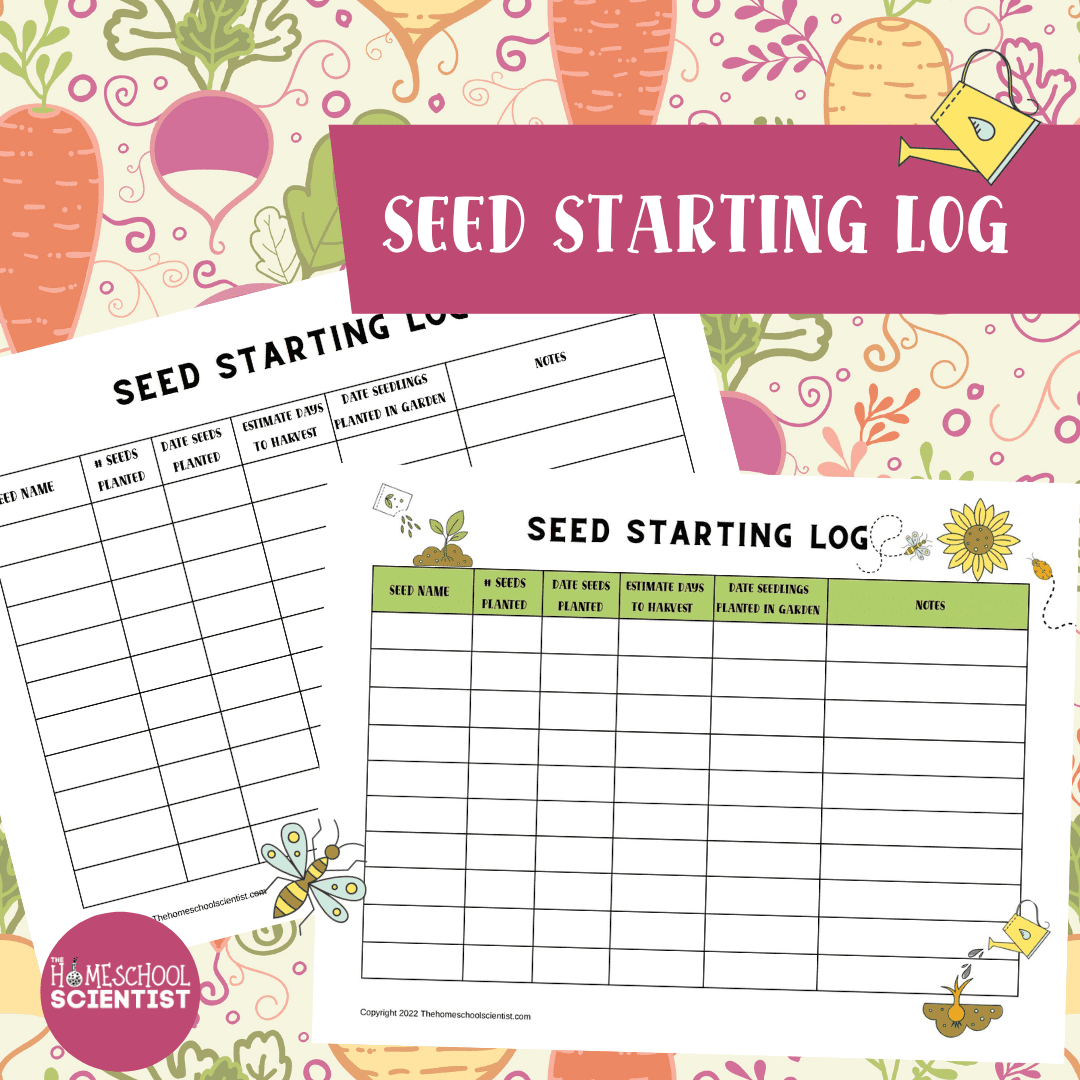
Then, we record the type of seed planted, the number of seeds planted, and the date. This helps us keep track of all the batches of seedlings we grow throughout the season. We do stagger our seeds so our harvest will be staggered.
DOWNLOAD OUR SEED STARTING LOG HERE The link opens in a new tab.
Now it’s time to water the cups and other containers. Here is where the transparency comes in handy. The cup on the left is watered while the cup on the right is not. The visual difference helps the kids to know when to water the seeds: dark cup has enough water, light cup needs water. Seedlings and seed starts need consistent moisture to grow.


Once the seeds are watered, we line up the cups on a cardboard tray we collected from Costco. These trays hold enough cups for our first round of spring seeds. After the cups are in, we cover the sides and top with plastic wrap. This creates a greenhouse-effect to hold in moisture and heat to help the seeds to grow. We place the cups in front of a bright window and check them every other day.
The recyclables are watered and covered up.
These are our first round of spring seeds. We’ll have three more rounds depending on the start dates (listed on the back of the seed packs) of our seeds.
Don’t forget to download a free copy of our seed starting log so you can keep track of what you planted during each seed starting session and track when it is transplanted into your gareden, and then (hopefully) harvested in Summer!
Then, we record the type of seed planted, the number of seeds planted, and the date. This helps us keep track of all the batches of seedlings we grow throughout the season. We do stagger our seeds so our harvest will be staggered.
More Seeds Resources
Observing Seeds with free printable
I hold a master’s degree in child development and early education and am working on a post-baccalaureate in biology. I spent 15 years working for a biotechnology company developing IT systems in DNA testing laboratories across the US. I taught K4 in a private school, homeschooled my children, and have taught on the mission field in southern Asia. For 4 years, I served on our state’s FIRST Lego League tournament Board and served as the Judging Director. I own thehomeschoolscientist and also write a regular science column for Homeschooling Today Magazine. You’ll also find my writings on the CTCMath blog. Through this site, I have authored over 50 math and science resources.