Biopsy Science Experiment
According to the Merriam-Webster dictionary, a biopsy is the removal of tissue, cells, or fluids from someone’s body in order to check for illness.
Most often, biopsies are associated with cancer diagnosis. A doctor might order a biopsy when initial examination of the tissues is not normal or if symptoms warrant a biopsy.
Types Of Biopsies
Needle Biopsy. Needle biopsies are done in different ways depending on where the suspicious tissue or fluid is that needs to be tested. These types of biopsies collect a small sample of cells. Needle biopsies are done when a lump of tissue can be felt through the skin. If the lump is deeper, a needle can still be used if guided by x-ray or other imaging procedure.
Bone Marrow Biopsy. The cells in your bone marrow can be used to diagnose a number of diseases, cancerous and non-cancerous. A bone marrow biopsy uses a special type of needle that enters the bone, usually of the hip, and collects cells in the marrow to be tested.
Skin Biopsy. When a part of the skin doesn’t see normal, one of several skin biopsy techniques might be used depending on where the problem spot is and how deep it appears to be. A shave biopsy is used to scrape just the outer layers of skin cells away to test. For deeper lesions, a punch biopsy can be employed using a special tool with a circular blade.
Surgical Biopsy. When the suspicious cells are in a place that no other method can reach, a larger cell sample is needed, or the decision is made that the lump or tumor needs to be removed, a surgical biopsy is ordered. This procedure involves either local or general anesthesia. A surgeon makes an incision and removes part or all of the cells in question.
Perform A Biopsy Science Experiment
To give students a feel of what performing a surgical biopsy might be like, try this experiment using supplies you probably have at home.
Supplies
- one package of clear gelatin
- hot water
- small glass bowl
- 2 or 3 pieces of fruit (we used blueberries)
- scalpel or sharp knife
- a needle or toothpick
- small plate
- microscope slide
- microscope
Procedure

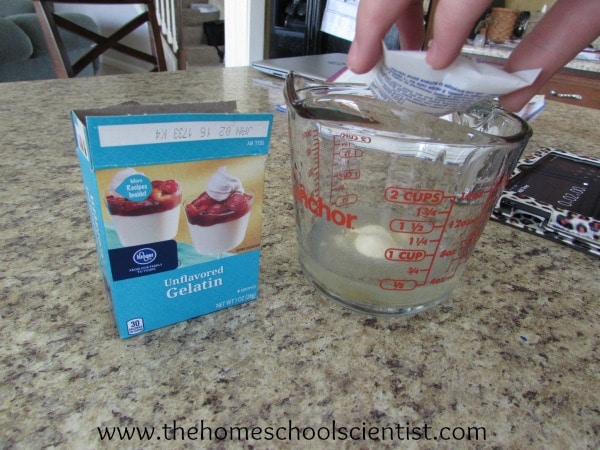
1. Make gelatin according to the direction on the package in the small glass bowl.

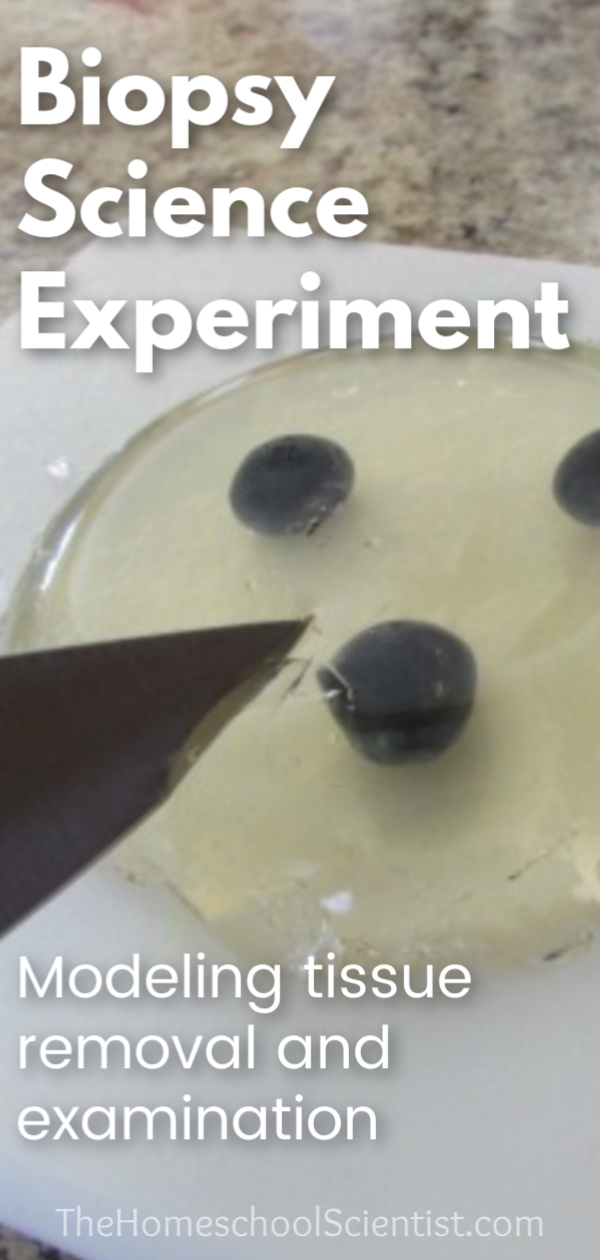
2. Refrigerate about 30 minutes or until the gelatin is slightly firm. Add a couple pieces of fruit to the gelatin. The fruit should settle beneath the surface of the gelatin but not totally sink to the bottom.
3. Refrigerate another hour or until gelatin is firm.

4. Remove the bowl from the refrigerator. Observe the fruit in the gelatin. Decide on the best possible way to remove a small sample of the fruit using the scalpel and the needle and doing the least damage to the tissue around it.

5. Take your sample and place it on the plate. Slice a very small sample of the fruit and place it on a microscope slide.
6. Observe your biopsy sample under the microscope.
For Your Lab Report
Describe the biopsy procedure and technique you chose. Would you do anything different next time?
Describe the “tumor”, or fruit. Give its size, color, and depth in the gelatin.
Describe what you saw under the microscope.
How do you think this relates to an actual surgical biopsy?
Homeschool Microscopes
One of the most common questions I get is about microscopes. What kind is best for homeschool students? I created this video to walk you through some of the features to look for in a homeschool microscope. This post features one that fits the bill from a company that I highly recommend – MicroscopeCentral.com.


