Field Trip Friday – Oak Tree Identification Help

The unseasonably warm temperatures for late October have allowed for some great outdoors, hands-on activities to build on and expand the knowledge my second grader is gaining through his Nancy Larson Science curriculum. We had fun last week collecting leaves and doing bark rubbings in the backyard. This week, we learned a little about oak tree identification. (A perfect way to start a leaf unit study.)

We took advantage of the warm weather and took a field trip to a local nature preserve to hike the trails. The forest there was mostly old growth oak and maple. This made for a beautiful array of fallen leaves on the ground. The brown of the oak leaves gave a great background for the gold and occasional red maple leaves.
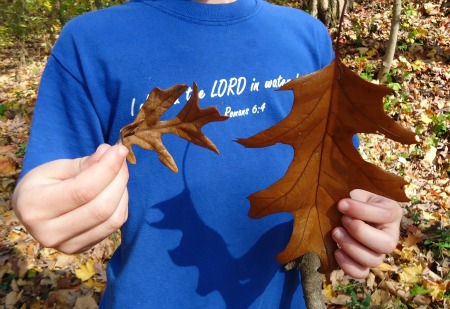
It was obvious from the variety of leaves we walked through that several types of oak trees were present. I used the opportunity to teach how to identify oak trees. Oak trees can be divided into two main groups – white oaks and red oaks. When identifying oak trees, the first thing to do is to determine if the tree is a white or red oak.

When I was in college, I worked as a naturalist and we used this analogy to help kids remember how to tell (in most cases) a white oak tree from a red oak tree. White men used bullets so the white oak leaves are rounded at the edges. The Indians had red skin and used pointed arrows so the edges of the red oak leaves are pointed.
Once you have determined whether the tree is a white or red oak, you can look in the appropriate section of your guide book. It’s just one easy step that can save you lots of page searching.
___________________________
You can read more about our adventures with Nancy Larson Science HERE.
Check out these Leaf Unit Study Resources.


