Reverse Engineering
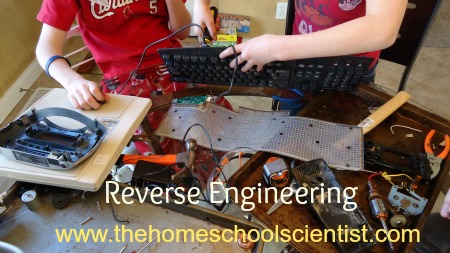
Some call it tearing stuff apart. We like “reverse engineering” better.
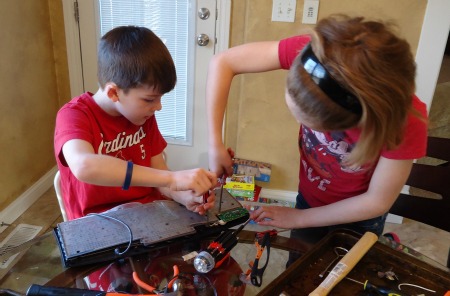
This had to be one of the most fun, most engaging homeschool science projects we have done to date. My children and a friend (so, 2 seven year olds and an eleven year old) started with a computer keyboard, a bathroom scale, a hand-held kitchen mixer and a radio/alarm clock. They ended up with a table full of parts.
I had someone ask me if, besides giving the kids the opportunity to destroy appliances, this project had any educational value since, none of us knew what half the stuff was we were looking at. The answer is “YES!!”
Nurturing Curiosity
Taking stuff apart is just carrying out natural curiosity. Most of us, at one time or another, (probably when we were growing up), wondered what was inside that radio or clock. What makes these machines work? Reverse engineering answers those questions and creates new ones. Curiosity can fade if not nurtured. That’s when science, and life, gets dull. Reverse engineering lets that curiosity run free in a safe, controlled environment.
Fueling Curiosity
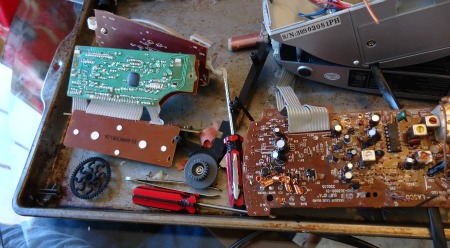
When we take machines apart, we discover what is inside. The purpose of some parts is easy to figure out, while others are baffling – especially with electronics. Being exposed to those formally unseen parts creates other questions that need to be answered.
Finding answers
After the initial reverse engineering session, there are going to be questions. Be ready to hit the library to look up books on mechanics, electric motors or electronics within the next day or two. Strike while the iron is hot and the kids are still fresh with wonder. Let them do some research to answer their questions.
Recording The Process
There are two ways to do a reverse engineering day. One – just take stuff apart and talk about each part. Let the kids be curious. Don’t worry about recording anything or searching out answers on the spot. Let the kids have fun. This usually leads to another day of destruction and another opportunity to go deeper.
Another way to do it, is to have more of a plan. The kids could record what they see and take notes on what they are curious about. They could compare and contrast the parts of different machines. This method could be implemented on a follow-up day as well.
Ready to Try Reverse Engineering?
Look around your house for appliances or machines you aren’t using anymore or that don’t work, or you could shop Goodwill or garage sales. Grab your tool kit and get to it. It’s that easy!
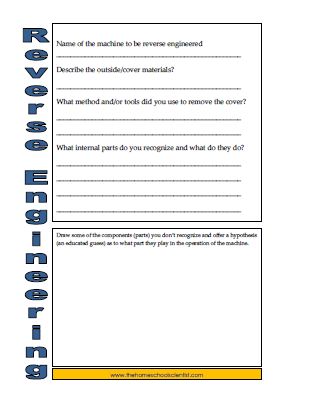
If you would like a more structured approach, you can try this printable worksheet I created for you. (UPDATE: I created an more in depth Reverse Engineering Printable Pack that you can download for FREE.)
Project Tips
- Use a rimmed cookie sheet to hold all your parts as you are taking your machine apart
- Have various screwdrivers and cutting tools handy
- Invite a friend over and have them bring a small appliance to take apart. We did this project with a friend and it was a great experience.
- Save some of the parts in plastic baggies to look up later
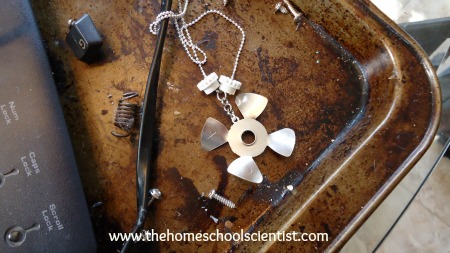
The girls made this necklace out of a fan from a hand mixer and some gears. - Re-purpose parts for fun
Most importantly, have fun!!


