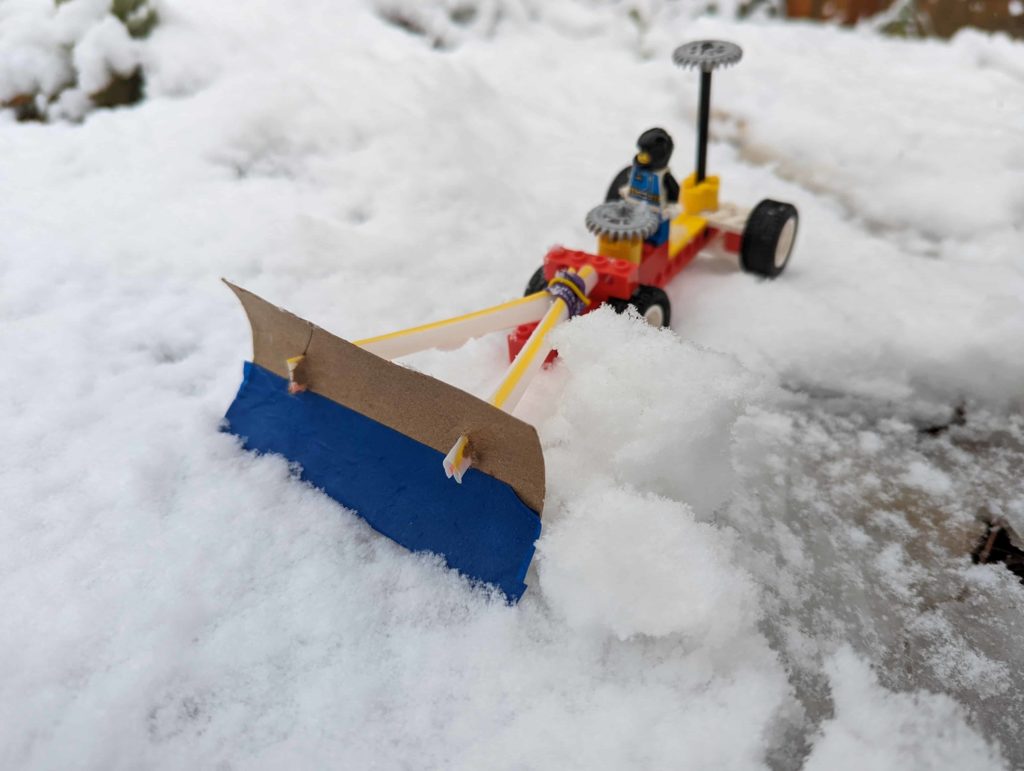
Awesome STEM Activity – Constructing a Sturdy Plow for Snow or Gardening
A creative STEM activity is always a favorite, especially the ones that use recyclables and Legos™! Warning, this activity is so much fun. As soon as your kids start building and testing, they are going to brainstorm ways to make the blade stronger. If you have snow on the ground when you do this, like we did, take your plow outside and try it out.
So, how did we get to this STEM activity? Well….
I’m always saving empty bathroom tissue rolls and paper towel rolls. We have a drawer full of them.
When we created this activity, snow was in the forecast. The day before it had been 80 degrees (winter in the southern US!), and we were all out in the garden boxes remediating the soil, which involved digging and moving (“plowing”) dirt.
So, that’s when the idea hit to try to do a STEM activity where the kids build a plow – either a snow plow or a plow to put on the front of a tractor to turnover a planting field.
STEM Activity – Learning About and Building a Plow
We did some research on plows before getting started. Below are links to videos and articles.
Please note that the video links are to SafeShare.tv which is a platform that allows you to watch a YouTube video without the ads to help filter out offensive content.
- Snow Plow action video with multiple plows working together on a busy highway during a snowfall https://safeshare.tv/x/ss61d25e54629ef
- Snow Plow, Twenty Tunes for Kids from the Truck Channel on YouTube. It does have some fun music, so check your speakers! https://www.youtube.com/watch?v=5oa8P3HJhYw
- National Snow and Ice Data Center – History of Snow Removal
STEM Design Questions to Ask Before Building
Before starting to build, there are a few design questions to ask before building begins.
- What problem are you trying to solve? (Where will they use their plow? What are the weather conditions? Road conditions?
- What are some features you can add to your plow to be able to do the work?
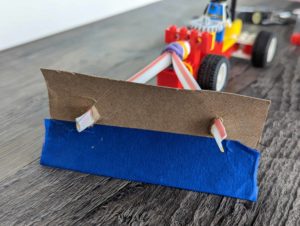
When watching the snow plow videos linked above, we noticed how sturdy the bottom of the blades need to be, especially if there is heavy slush or ice that needs to be broken up. This extra reinforcement might be needed to push a heavier load or break up ice. To solve this problem, one of our plow blades was reinforced with masking tape to make the bottom of the blade sturdier for “icy conditions.”
STEM Activity – Building a Plow with Legos and Other Materials
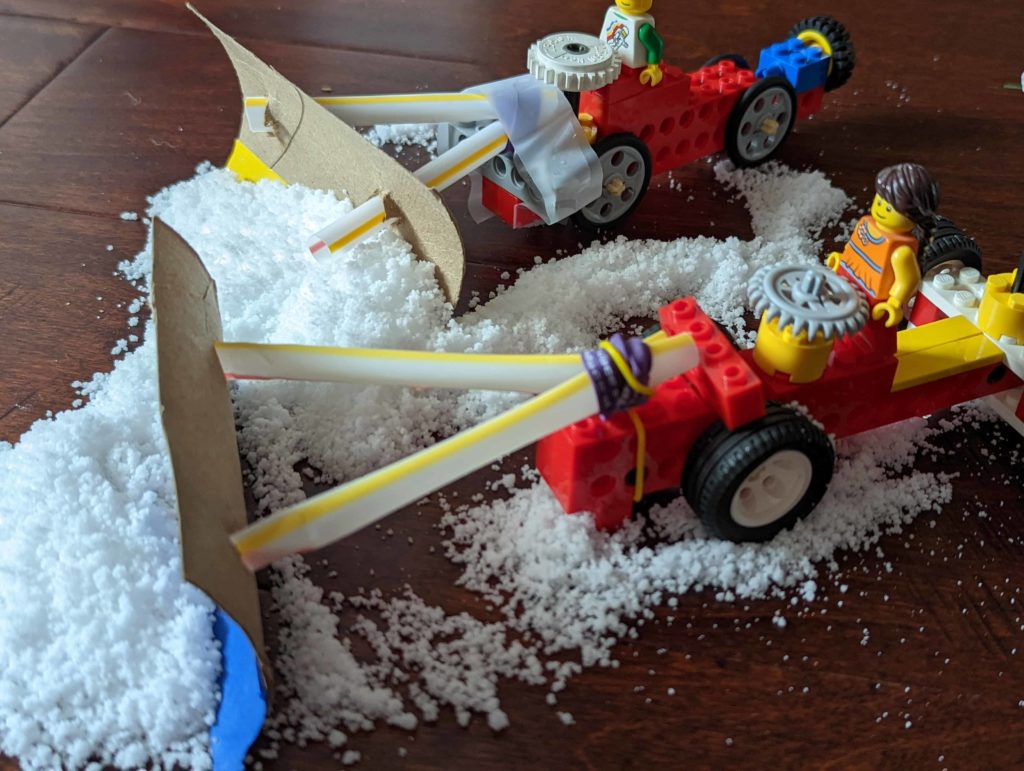
Then, straws, Legos™ pieces, paper clips, tape, rubber bands, Lego rubber bands, string, twist ties, etc. can be handed out to try different ways to attach the plow to the vehicle.
STEM Activity - Building a Plow for Snow or Gardening
Materials
- Several Empty bathroom tissue rolls
- Rubber bands, tape, scissors, straws, paper clips, etc.
- Legos to build a vehicle or a toy truck
- Any other matierials that might help build a plow
Instructions
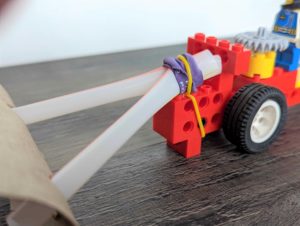
- Build a Lego vehicle, if not using a toy truck. Think about where the plow will be attached. This is where it gets challenging because the plow has to rest on the ground. This means it has to be attached to the vehicle at just the right angle. We used Lego rubber bands and regular rubber bands to make the attachment.
- Fashion the plow blade by cutting an empty bathroom tissue roll lengthwise. You might need to cut some off the bottom.
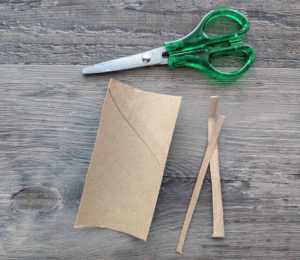
- Trim each end of the half-roll. If it is left as is, there is too much curve to the"plow blade."

- Do you need to reinforce your blade in anyway? Try reinforcing with different types of tape. We used painter's tap and duct tape. We also made blades that were not reinforced.

- Construct“arms” to hold the blade. You can use a straw cut into two pieces.

- Attach the arms to the blade. One option is to cut SMALL slits in the blade and fold in the end of the straw to push it through the slid. You'll want a tight fit so the arms don't easily slip out while the plow is in operation.

- Now it's time to test your plow! If this is a plow to use on soil, take it outside and test. Or if it's a snow plow, use one of the 3 fake snow recipes found here: https://thehomeschoolscientist.com/fake-snow-stem-experiment/
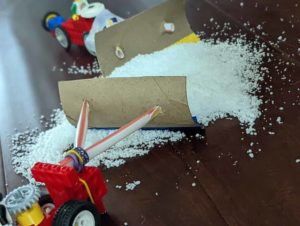
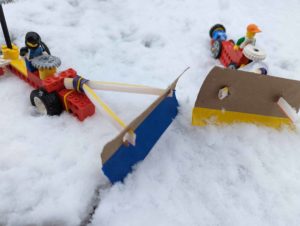
- We had fresh snow, so took our plows out. The edge of the blades did well in the wet snow since they were "waterproofed" with the tape. But, pushing snow was tough on the ground; it was easier on the picnic table.
Follow Up Questions and Activities
This was a super-fun activity! There are so many things to test and so many lessons learned. What we learned:
- Reinforcement in building is important. The blades with the reinforced edges did so much better.
- Taping the shovel onto the car held up better. The rubber band design didn’t transport well when we moved it from outside to inside or from the table to the floor.
- The heavier our snow was, the more difficult it was to move snow. We tried making a plow from a thin plastic cup, but the blade bent too much. We are going to get heavy Solo cups and try again.
Make some fake snow to test the plows. You can find 3 very simple recipes here. (Link opens in new tab.)
Things to try and/or test:
- How can you reinforce your plow? The vehicle?
- Build a ramp, can you move the snow up and/or down the ramp?
- What happens when you need to lift the plow attachment slightly off the ground? Is there a way to create a mechanism to slightly lift the blade and then keep it off the ground? (Hint: maybe with a rubber band attached to the blow and the Lego car?
- How can you make your plow stronger? (Maybe use a Solo cup cut to form a blade.
Once you finish the plow STEM building activity, try our cargo ship building activity.
We tested it with “snow” and dirt. We used this snow product. (Which we used in this fake snow STEM activity.)
Other Snow-Related Posts
Snowflake Printable Lesson (Free)

I hold a master’s degree in child development and early education and am working on a post-baccalaureate in biology. I spent 15 years working for a biotechnology company developing IT systems in DNA testing laboratories across the US. I taught K4 in a private school, homeschooled my children, and have taught on the mission field in southern Asia. For 4 years, I served on our state’s FIRST Lego League tournament Board and served as the Judging Director. I own thehomeschoolscientist and also write a regular science column for Homeschooling Today Magazine. You’ll also find my writings on the CTCMath blog. Through this site, I have authored over 50 math and science resources.


