

Build a Working Traffic Light STEM Activity


In this STEM activity, we’ll build a working traffic light! This is a favorite activity and we’ll share our final project. You can use this in a group, in pairs, or as an individual project to learn about circuits.
Ever since we made greeting cards with LED lights and copper wire tape, I’ve been looking for ways to use these fun supplies to do more STEM activities that help kids understand how circuits work.
We have a free printable about circuits you can request below. You can also read more about electricity in our light-up greeting card post. (We won’t repeat it here, as it’s all in the free printable.)
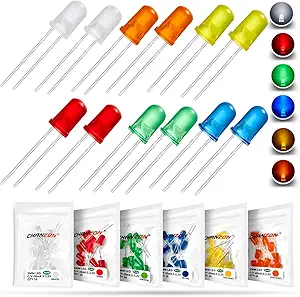
If you haven’t covered circuits with your kids or are looking for a hands-on activity to help kids understand circuits, gather some LED lights with leads, copper wire tape, a package or two of CR2032 batteries, our template in the free resources listed below, and a few other common craft materials.
Combining science and history is an engaging way to teach. So, since we are approaching November at the time of this writing, let’s celebrate the first patent for a traffic light. The patent was granted to Garrett Morgan on November 20, 1923. But you don’t have to wait until November to complete this unique STEM activity.
Listed at the end of this post are some video resources about traffic lights and how they work. These resources are geared toward middle and high school students.

Let’s make a working traffic light!
Make a Working Traffic Light STEM Project – Materials and Directions
- LED lights with leads
- copper wire tape
- a package or two of CR2032 batteries, bitter tasting ones are linked here
- card stock (optional, but it does work best for the traffic light cut-out)
- our template in the free resources listed below
- tape
- an empty paper towel tube
- a small shipping box
- scissors


Print out the template. If you have cardstock, I recommend using it. We did create some of ours using copy paper, which also worked well.
Cut out the template as shown here.
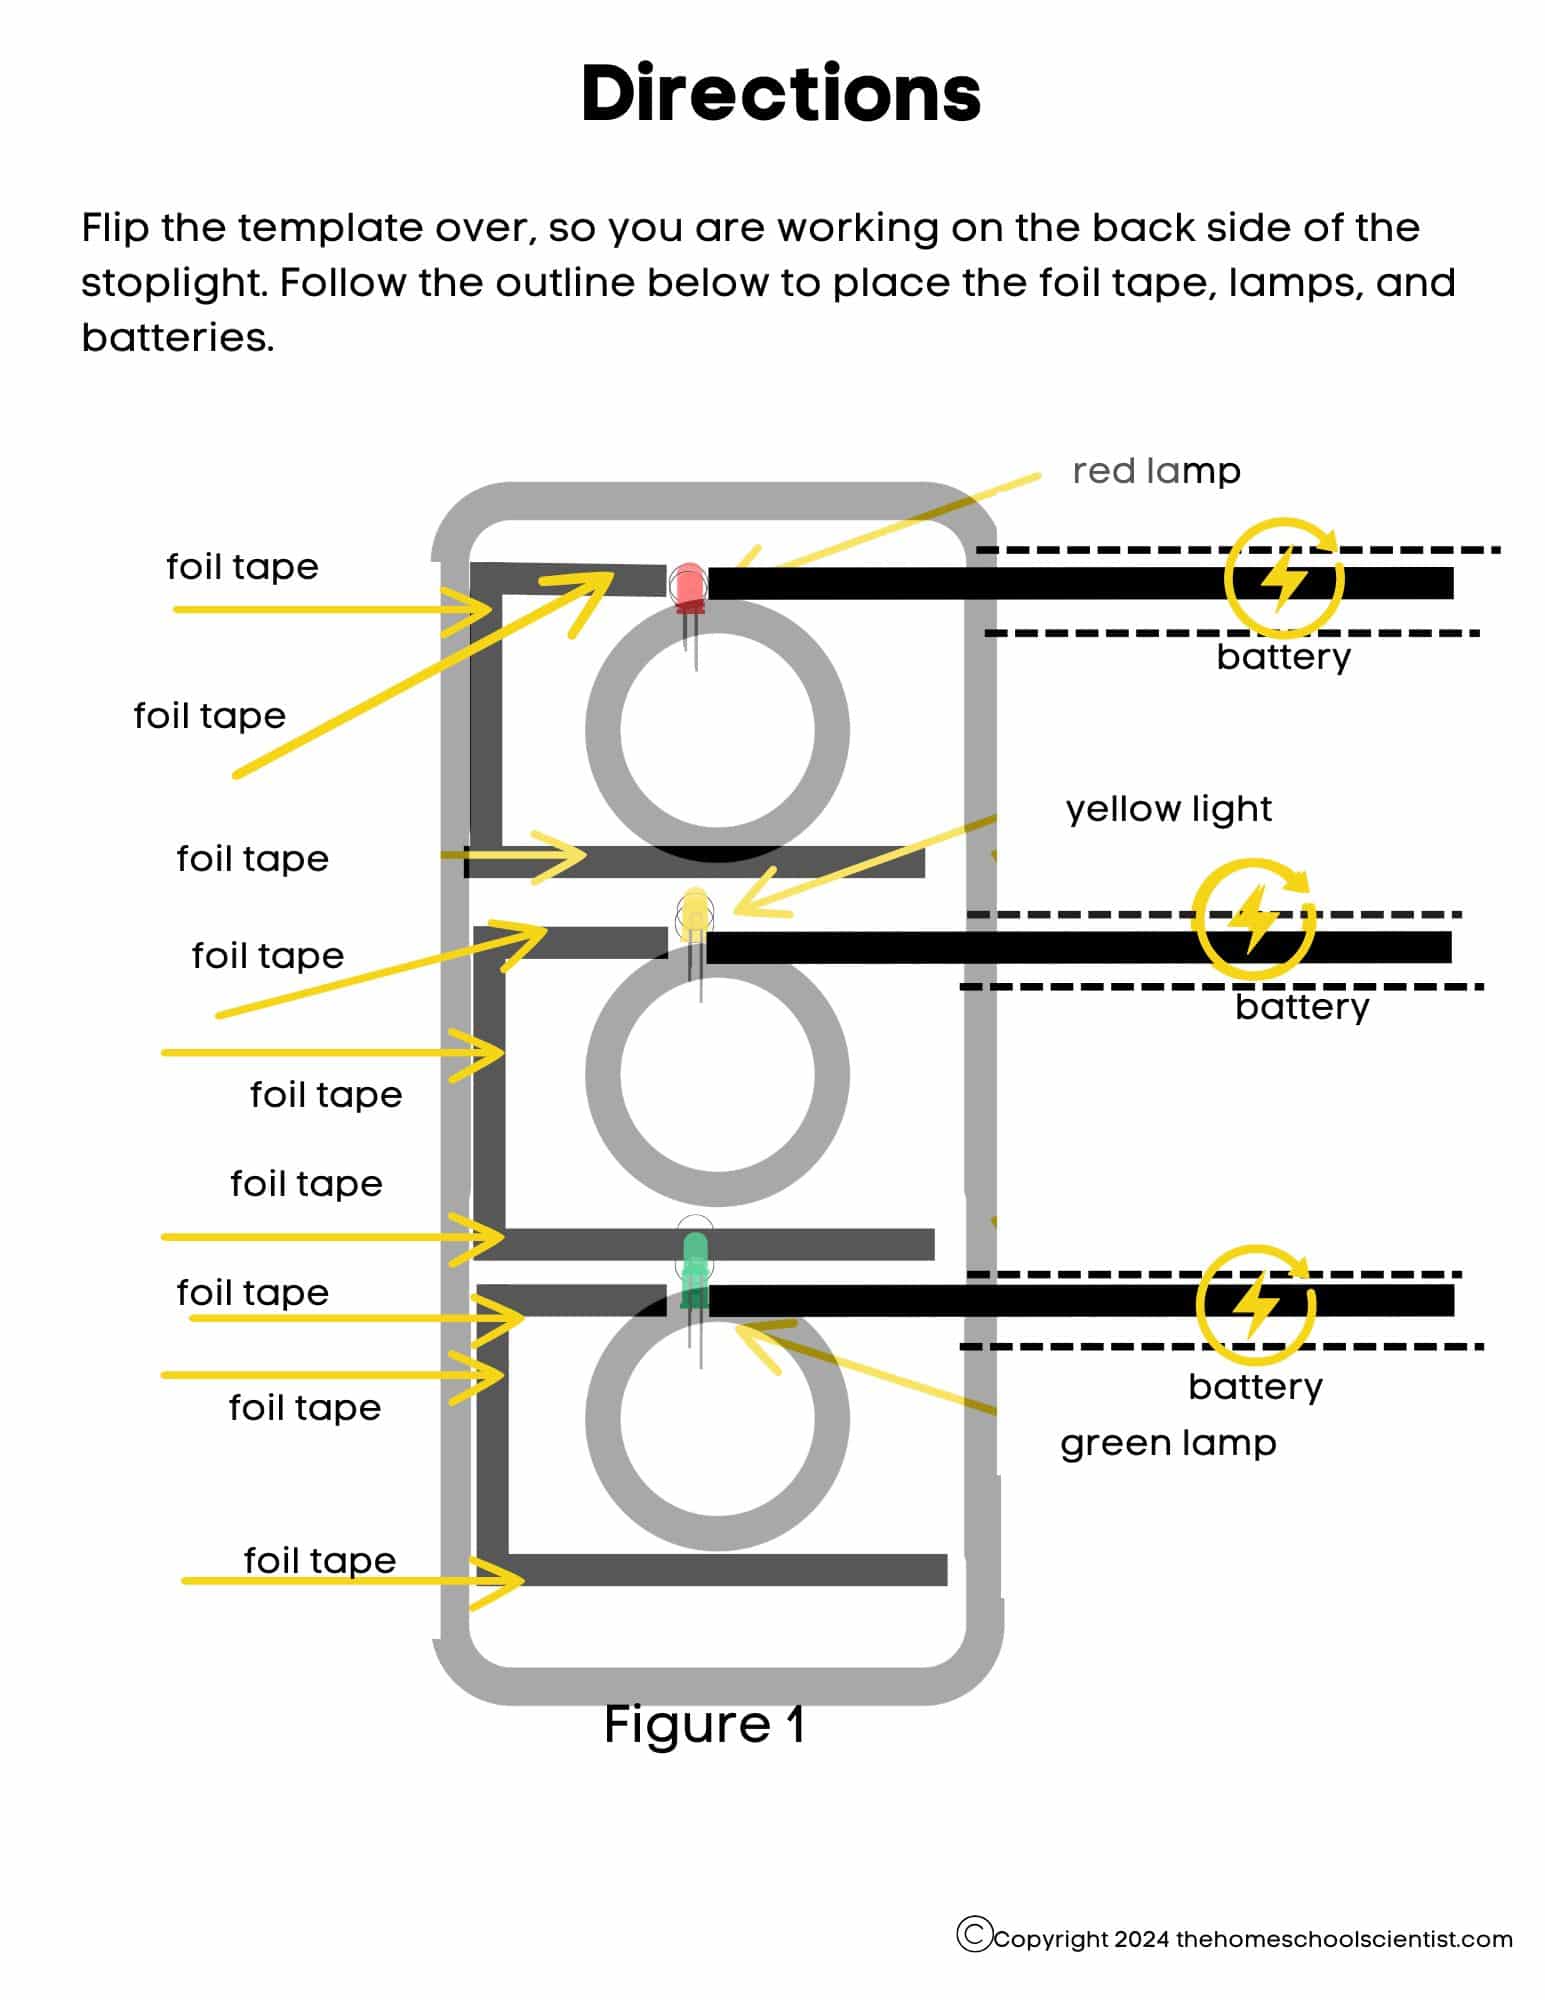
Flip the template over and place the red, yellow, and green lights where they will eventually be attached to the copper wire tape. Flatten the wire leads as much as you can.
Next, follow the diagram and photo below and attach the LED lights and copper tape.


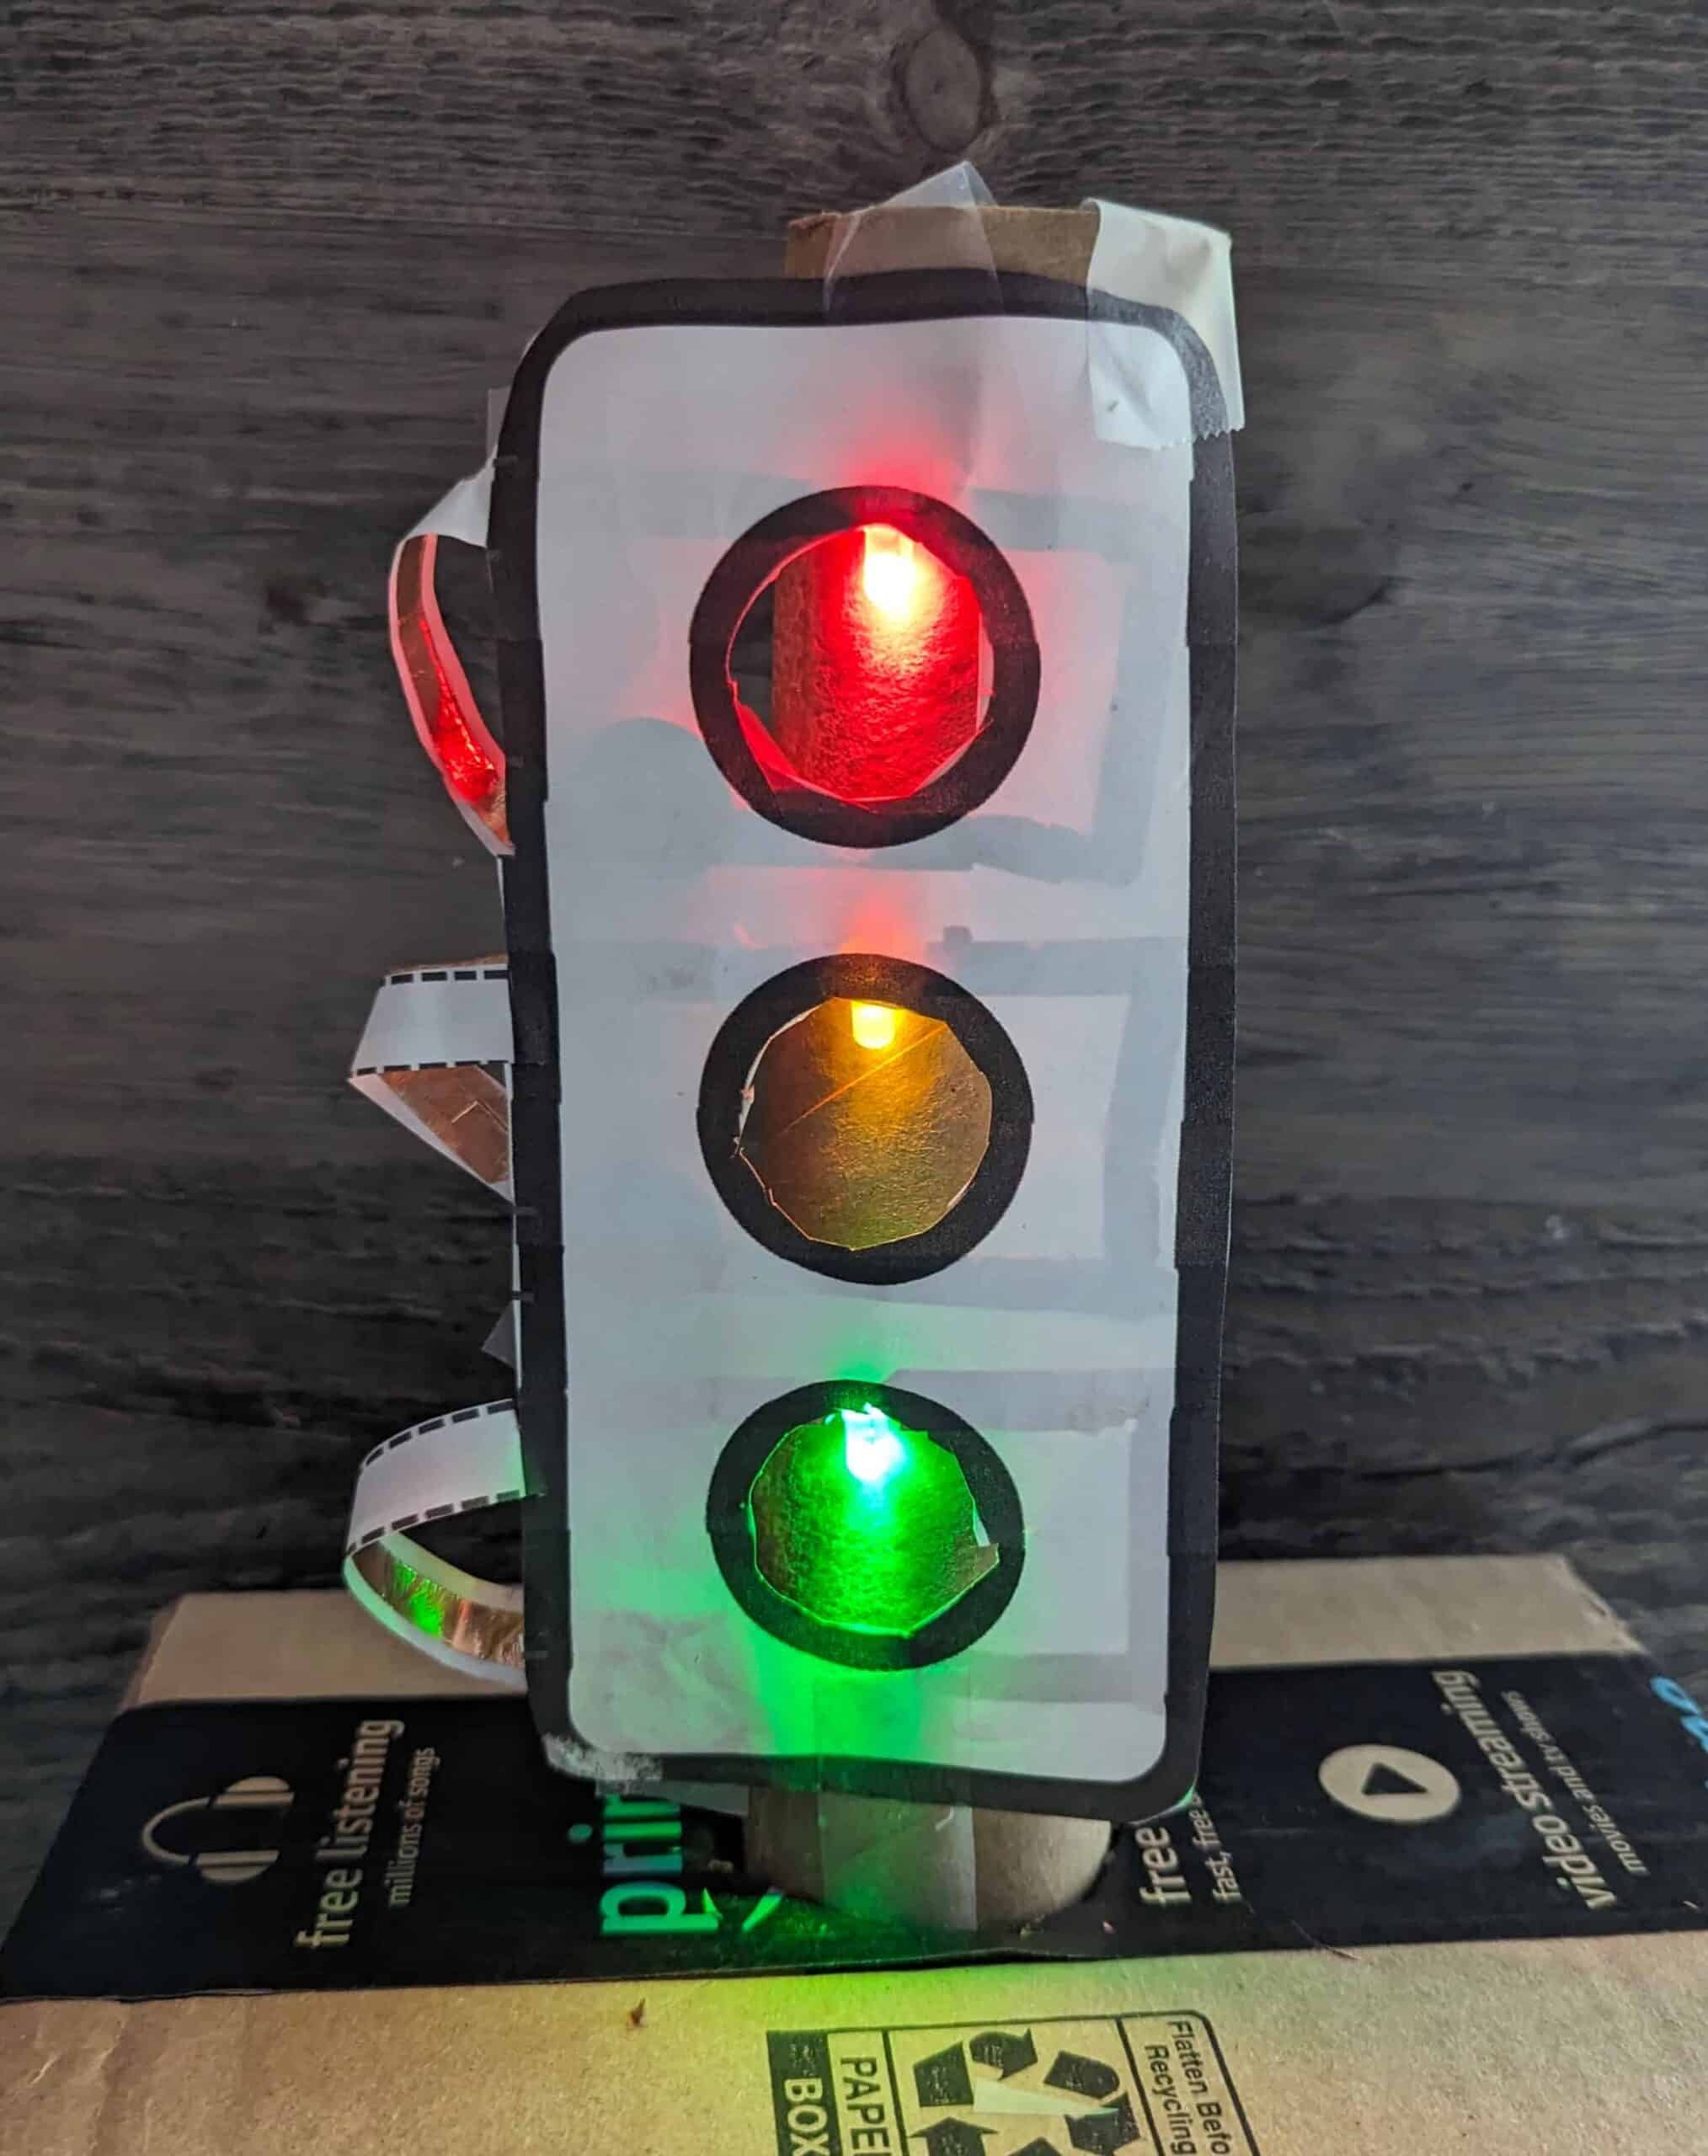
One of our middle school students shares their traffic light configuration.
Next, attach one battery to each tab as shown in the photo. To do this, face up a piece of tape and attach it to the tab, then place the battery on the tab and sticky side of the tape.
At this point, the circuit is open.
To complete the circuit, fold the battery down to the copper wire tape that runs under each light. The light should illuminate. If the light does not, check the troubleshooting page on the printable.

Fold the battery down to the copper wire tape that runs under each light to complete the circuit. The light should illuminate. If the light does not, check the troubleshooting page in the printable.


To complete the traffic light project, gather the empty toilet paper tube and small box.
Cut an X in the top of the box that is just large enough to slide in the cardboard tube to make the pole for the traffic light.
Tape the traffic light to the pole!
Traffic Light STEM Project Printable
Use the form below to request the printable that accompanies this activity. You’ll be added to our email community where you’ll be the first to know about new resources.
Resources About Traffic Lights and Traffic Control
- How Do Traffic Signals Work? from Practical Engineering – for middle and high school students
- How Traffic Lights Work from Howstuffworks.com
I hold a master’s degree in child development and early education and am working on a post-baccalaureate in biology. I spent 15 years working for a biotechnology company developing IT systems in DNA testing laboratories across the US. I taught K4 in a private school, homeschooled my children, and have taught on the mission field in southern Asia. For 4 years, I served on our state’s FIRST Lego League tournament Board and served as the Judging Director. I own thehomeschoolscientist and also write a regular science column for Homeschooling Today Magazine. You’ll also find my writings on the CTCMath blog. Through this site, I have authored over 50 math and science resources.