

How to Make a Rain Gauge
If you’re planning a weather study in your homeschool, co-op, or classroom, teaching students how to make a rain gauge yields a project they will keep for years to come.
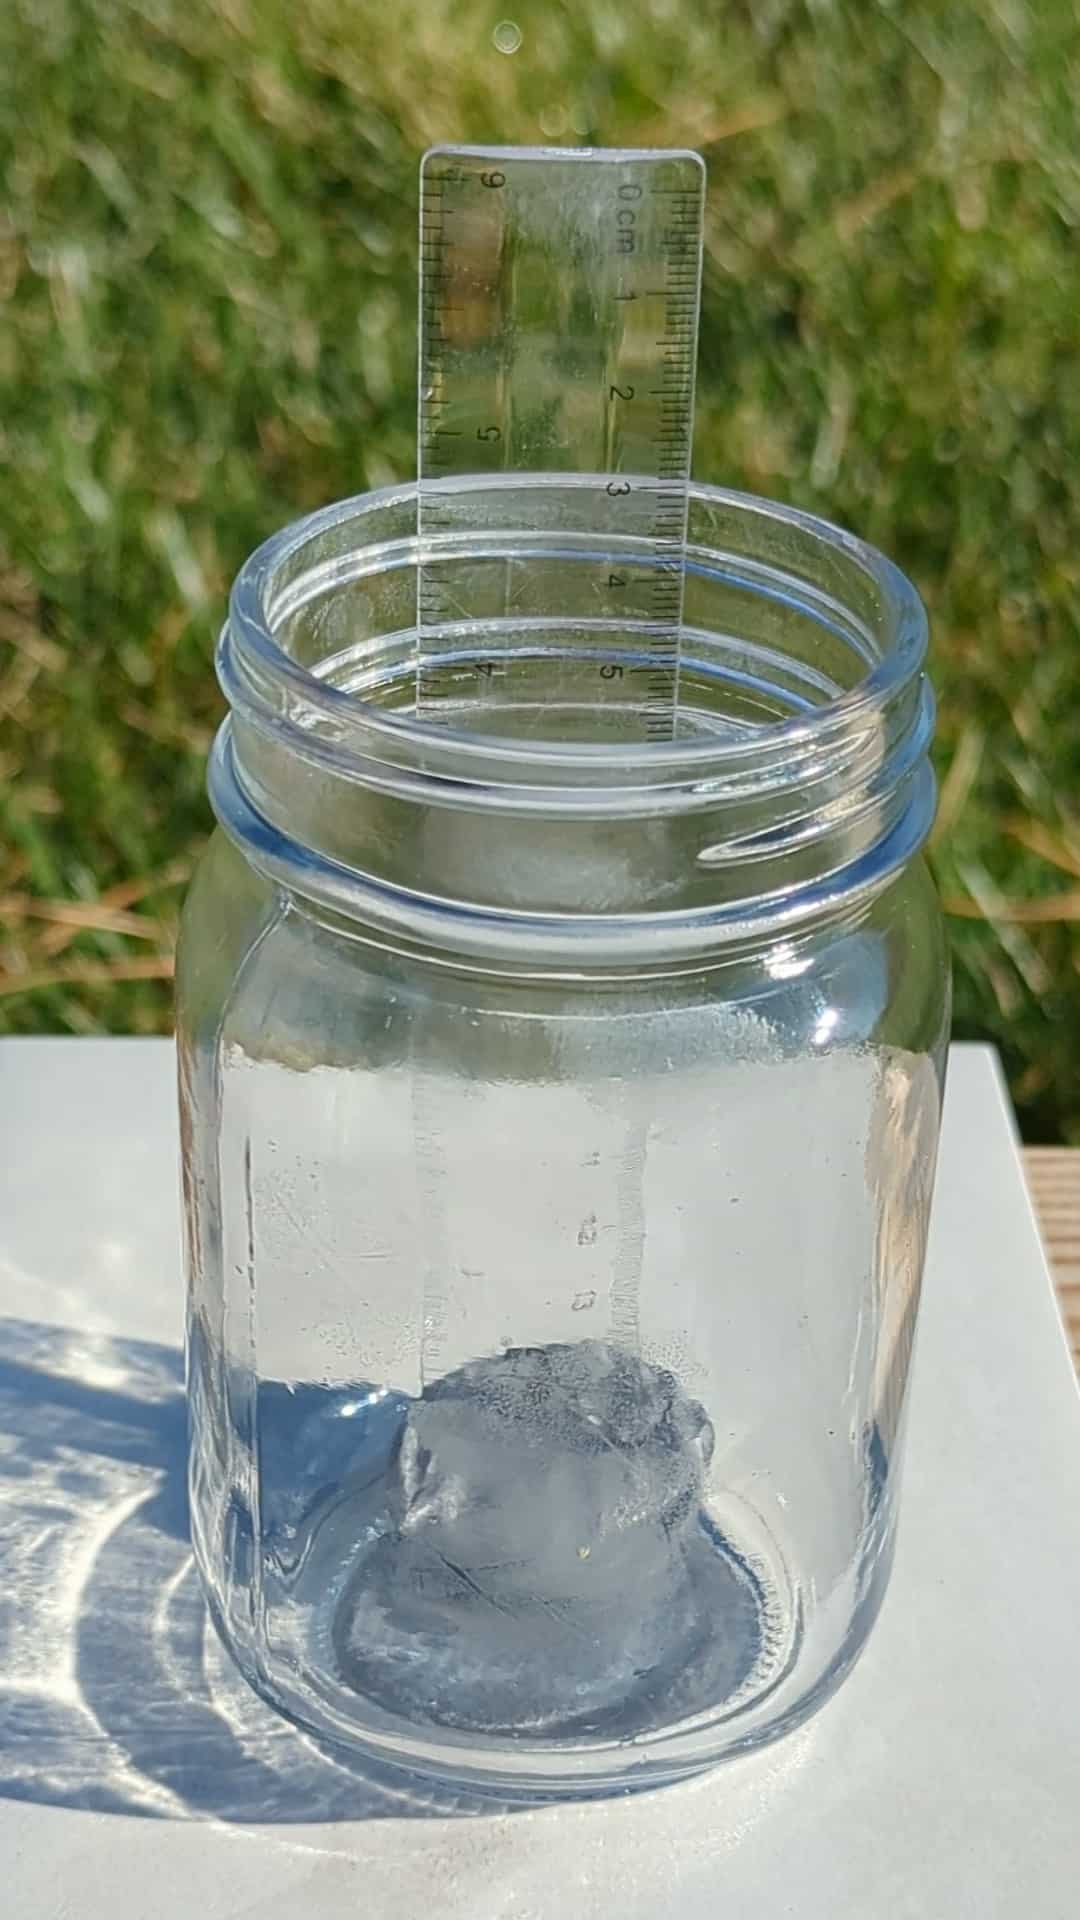
This is a super-easy, 3-step rain gauge project. You need four items–a jar, ruler, a floor tile, and putty.
Gorilla Glue® Epoxy Stick is the adhesive in this project. I was looking for something easy to use, waterproof, that would work on glass, the plastic of the ruler (the epoxy will not work on polypropolene), and tile. The adhesive also had to be waterproof. So, we landed on this epoxy putty stick.
Many projects on how to make a rain gauge use a plastic bottle, but the plastic is prone to breakage and tips over easily in a storm. The rain gauge we created is more durable and waterproof.
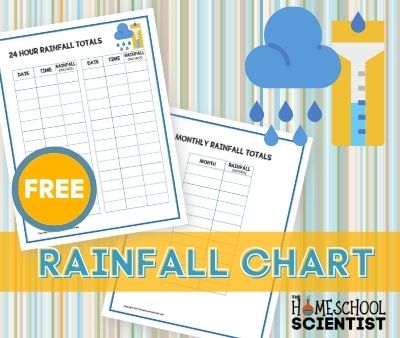
After making the rain gauge, use our rainfall chart printable to track the amount of rainfall in your area.
Here are some weather science activity ideas to use with the rain gauge:
- Turn it into a long-term science project by comparing rainfall for each month or for each season.
- Ask your students to research rainfall from past years to see if the current amount of rainfall is above average, below average, or about normal for your area.
- Compare your monthly rainfall totals with other locations around the world in differing habitats – desert, rain forest, etc.
- Study the water cycle with our lesson and free printable.
- Study hurricanes with our lesson and activities
- Make a thermometer
- Make an anemometer
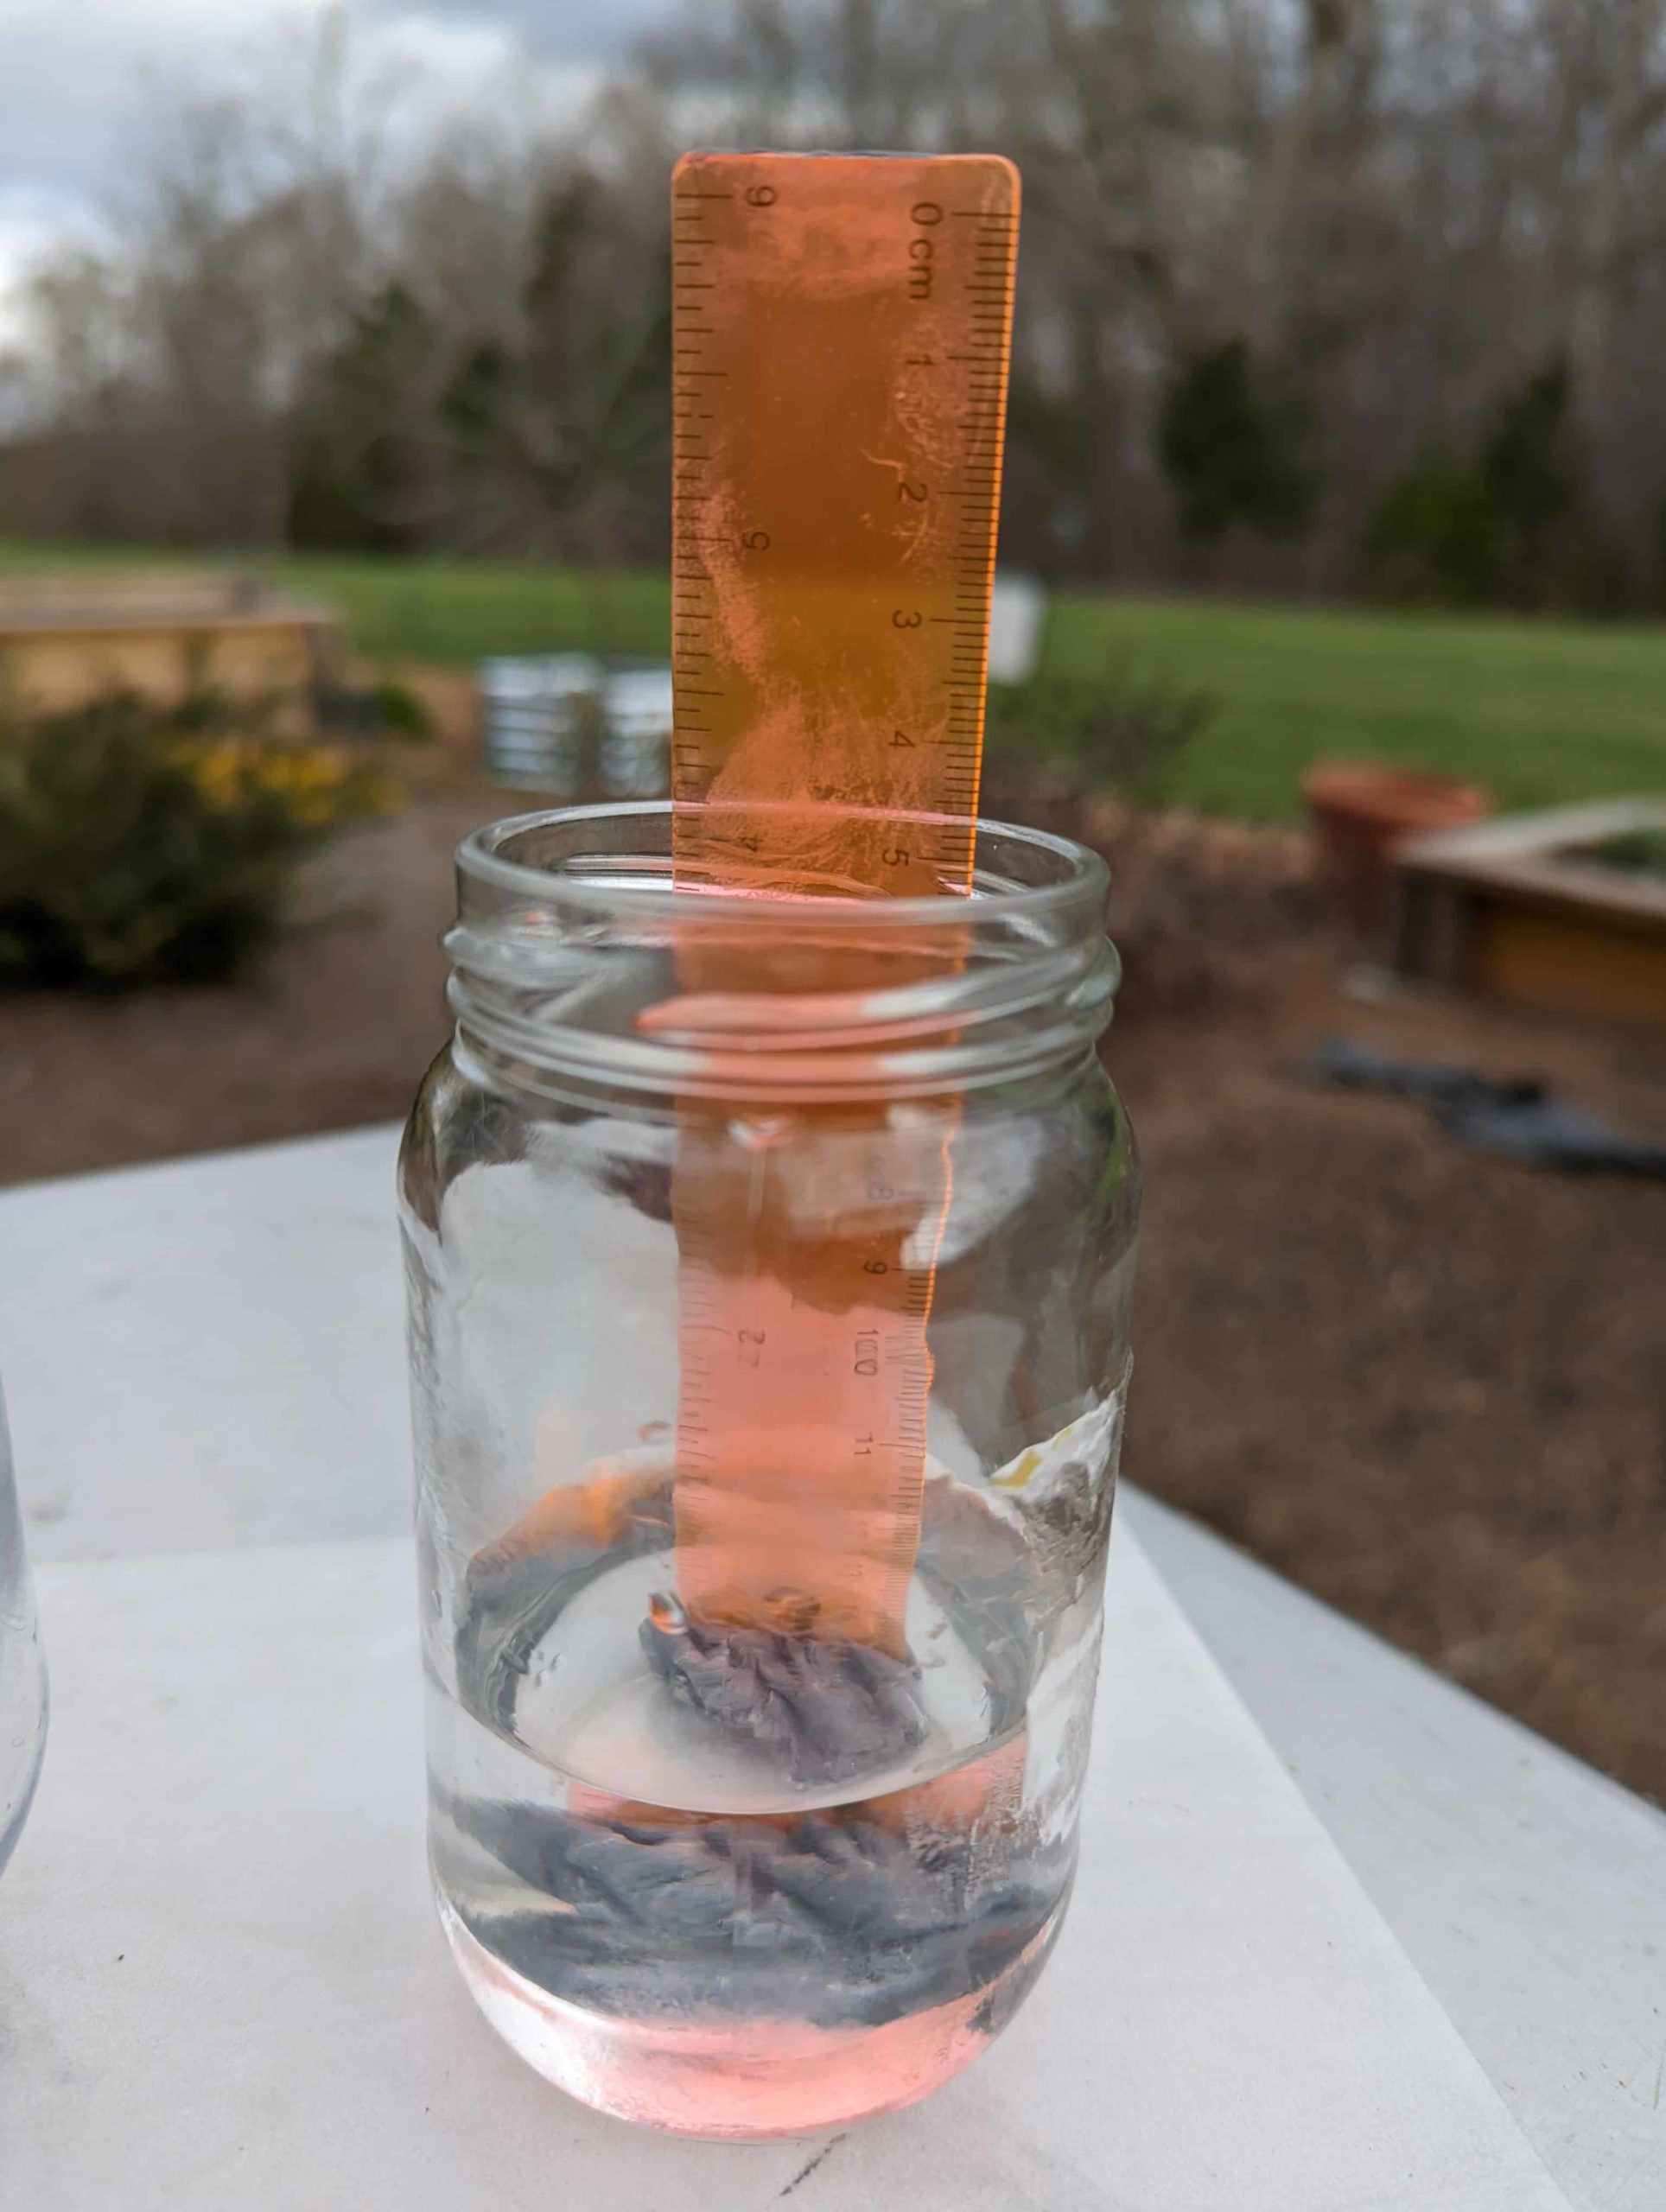
Does the epoxy putty hold up when it’s soaked in water? YES! Here is one of the rain gauges we made after 48 hours with water inside the gauge.
Epoxy is made of epoxy resins and a hardener. When the two mix (in the putty used in this activity, you can see the epoxy and hardener), a chemical reaction occurs. This is why it is important that the epoxy putty in this activity be mixed thoroughly until the two create a uniform lighter gray color before attaching the ruler to the putty.
Epoxy is thermosetting which means it irreverisbly cures (or hardens). Find out more about the chemistry behind epoxies at the end of this post.
How to Make a Rain Gauge
The instructions and notes to teach your children how to make a rain gauge are as follows:

How to Make a Rain Gauge
Materials
- 1 Clean, glass jar An 8" tallish mason jar works well.
- 1 6" ruler Do not use a wooden ruler with the epoxy.
- 1 Package of Gorilla Glue Epoxy Stick
- 1 pair Scissors
- 1 pair Disposable gloves
- 1 Floor tile
Instructions
- Cut 1 ½” piece of putty. Roll it around and mix it for about2 minutes until it is a uniform color of gray.1 Package of Gorilla Glue Epoxy Stick

- Place the putty inside the jar and push it against one side of thejar, and lightly press down to attach the putty to the bottom of the jar.1 Clean, glass jar
- Place the ruler into the putty. Make sure the 1” mark is facing down into the jar. The ruler should stand on its own inside the piece of clay.1 6" ruler
- Cut another piece of putty. This piece will be used to attach the jar to the tile.1 Package of Gorilla Glue Epoxy Stick
- Press this flat piece of putty onto the tile. Place the jar on the putty. Let it sit for an hour before moving.1 Package of Gorilla Glue Epoxy Stick
- After 24 hours move the rain gauge outside on a flat surface that is not blocked by trees, bushes, or structures.


Video
Notes
Don’t forget to download our rainfall chart here.
Other Resources:
I hold a master’s degree in child development and early education and am working on a post-baccalaureate in biology. I spent 15 years working for a biotechnology company developing IT systems in DNA testing laboratories across the US. I taught K4 in a private school, homeschooled my children, and have taught on the mission field in southern Asia. For 4 years, I served on our state’s FIRST Lego League tournament Board and served as the Judging Director. I own thehomeschoolscientist and also write a regular science column for Homeschooling Today Magazine. You’ll also find my writings on the CTCMath blog. Through this site, I have authored over 50 math and science resources.